


Updated on: 2026-05-11
You’ve got curly hair, you want definition, and you also want fewer flyaways. That’s where a diffuser for curly hair can make a real difference. It helps spread airflow so your curls don’t get blasted into frizz. If you’ve ever blown out your curls and wondered why they look fluffy instead of defined, this guide is for you. Let’s walk through how to use a diffuser, what to look for, and how to dial in your routine without stress.
Last week, I watched a friend switch from “rough drying” to a diffuser routine and the change was instant. The curls sat together instead of scattering. It felt like her hair finally had a chance to behave.
Table of Contents
What a diffuser for curly hair does (and why it matters)
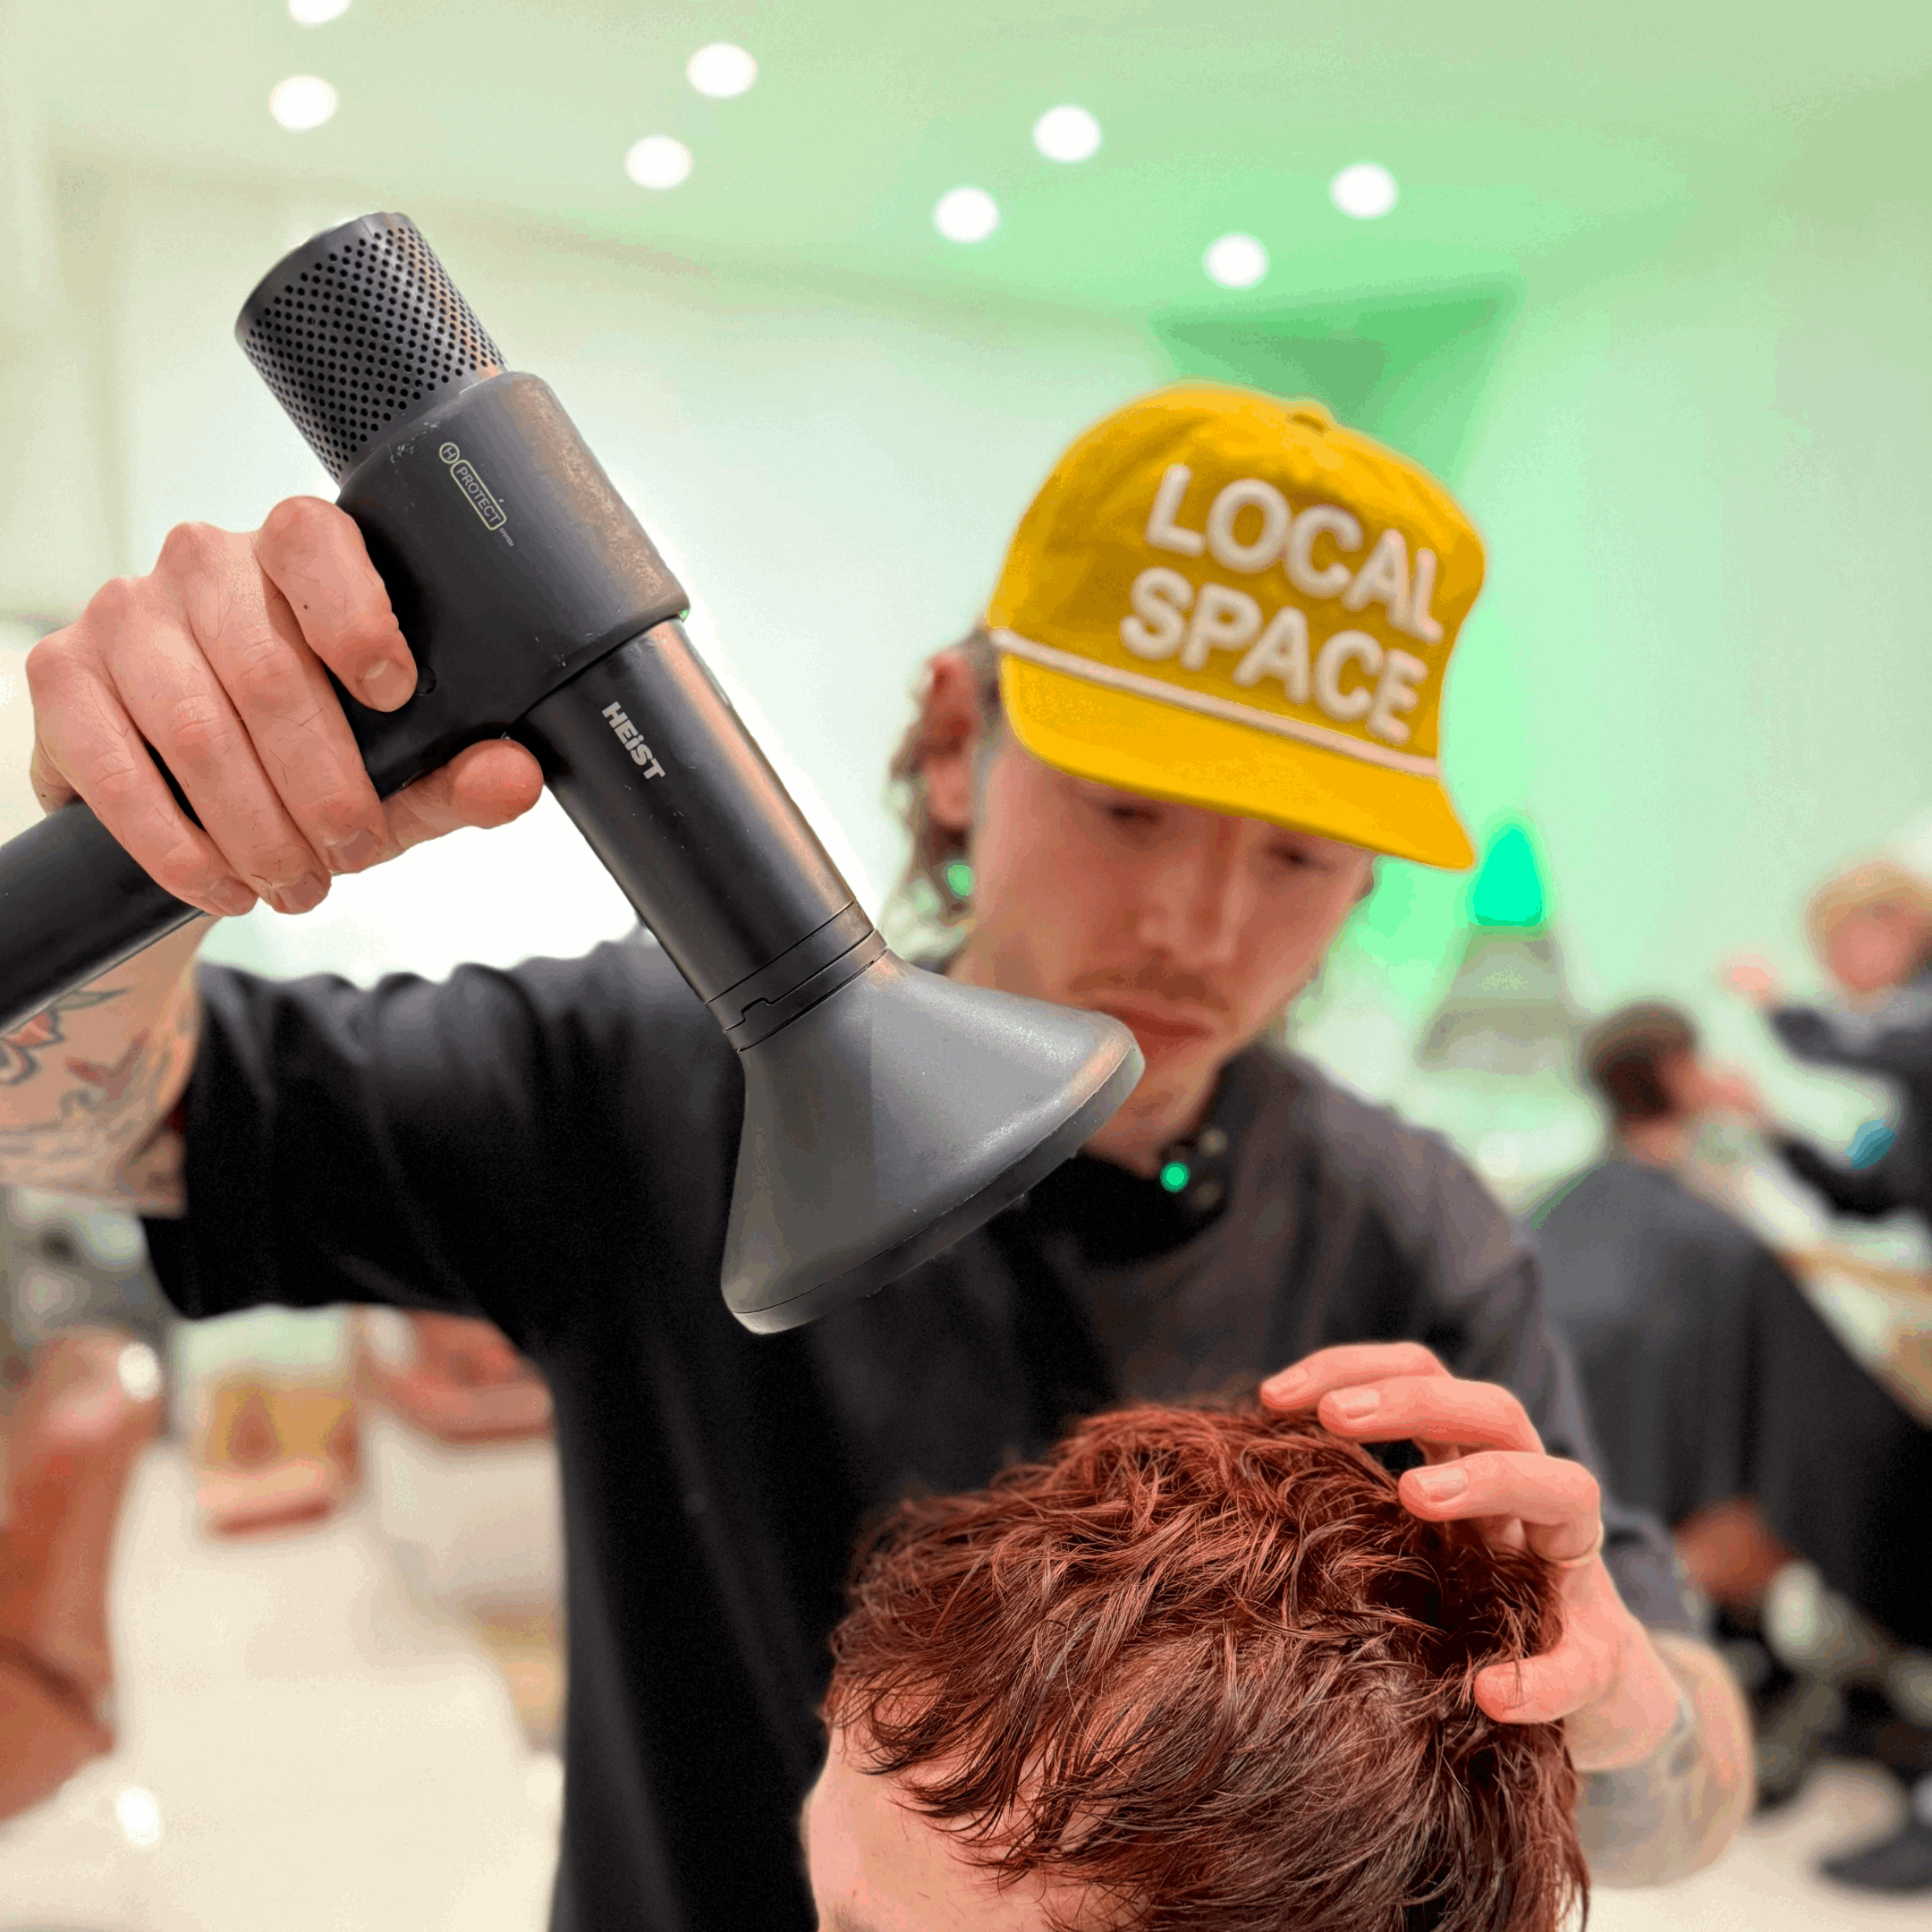
A diffuser is an attachment that spreads dryer airflow across a wider area. Instead of forcing air straight onto your roots and lengths, it disperses the flow. That softer approach helps curls dry more evenly and with less disruption. In plain terms: your curl pattern gets less “jostling,” so it can form shape instead of turning into static.
For many people, the biggest win is volume that looks intentional. A diffuser can lift the roots while still letting curls clump. If you’ve ever over-dried one section and watched it puff up, you’ll understand why controlled drying is key.
It’s also great for creating that “curls-first” look after washing. Even if you use leave-in conditioner, gel, or curl cream, the drying step can make or break the result. A diffuser helps you keep the product doing its job.

Airflow spreading to curls during gentle drying
Step-by-Step Guide: How to use a diffuser for curly hair
Let’s make this simple and repeatable. Think of it like styling in stages: prep, dry, set. You’re not trying to “cook” your hair fast. You’re helping it dry in a way that supports your natural shape.
-
Start with damp, not soaking wet hair. After washing, gently blot with a microfiber towel or soft T-shirt. If your hair is dripping, your dryer has to work too hard, and the curls can lose their clump.
-
Apply your styling products with purpose. Work in leave-in conditioner, curl cream, or gel. Focus on coating the lengths and encouraging clumps. If your curls fall apart easily, skip heavy rubbing and use gentle finger pressing.
-
Choose the right heat and speed. Begin with medium heat and lower speed if possible. High heat can dry the outside too quickly, leaving the inside damp and prone to frizz later.
-
Section your hair for an easier rhythm. Create 2 to 4 sections. If you have thick hair, more sections usually mean more even drying. Clip sections out of the way so you don’t end up rushing.
-
Attach the diffuser securely. Make sure it clicks or fits firmly, so the airflow is consistent. Hold it like you would hold a bowl: steady and gentle, not pressed hard into your scalp.
-
Dry with a “hover and cup” motion. Lift one section and place the ends into the diffuser. Let the curls sit on the prongs. Keep the dryer moving slowly, pausing to let air circulate. Avoid aggressive scraping or squeezing.
-
Dry roots with light contact, not pressure. For root volume, lightly touch the diffuser to the scalp for short moments. Then lift again. This helps you get lift without flattening your curl shape.
-
Move from ends to roots gradually. If you start at the scalp and keep pushing, you can disrupt curl clumps. Instead, let the ends dry first, then work upward.
-
Stop while curls still feel slightly springy. When you dry until hair is fully crispy, it can feel rough and frizzy. Aim for hair that feels dry to the touch with curls that still look touchable.
-
Finish with a cool shot to set. If your dryer has a cool setting, use it briefly. This can help curls hold shape as they cool down.
If you want a quick benchmark: you’re done when the curls look defined and your hair isn’t damp near the roots. You’re not trying to achieve “bone dry” every time, especially if your hair tends to get brittle.
Tips for better curl definition and less frizz
Here are some friendly, practical tips that usually help right away. You can mix and match based on what your hair responds to.
- Don’t over-touch your curls while drying. The more you move them, the more clumps can break.
- Use the right towel technique. Blot and squeeze gently. Rubbing can create frizz before you even start drying.
- Refresh strategically between washes. If you need a second day boost, mist lightly with water and reapply a tiny amount of gel or curl cream. Then let curls settle.
- Try flipping your hair one time. Lightly flipping for a minute can add root lift. Just don’t keep shaking constantly.
- Consider a “set and leave” approach. After drying, don’t keep checking and fussing. Give curls time to cool in place.
- Match product to your porosity and climate. If you live somewhere humid, you may need stronger hold. If your hair is dry or low humidity, a lighter hold can still work.
- Keep heat moderate. High heat can turn definition into puff. Moderate heat with steady airflow is often the sweet spot.
One personal favorite: if my curls start to shrink, I pause and let them rest in the diffuser. That small delay can help the clumps reform.

Clumps forming as airflow cools and settles
How to choose the right diffuser attachment
Not all diffusers behave the same way. Shape, prong size, and airflow design can change the outcome. When choosing a diffuser for curly hair, think about your curl pattern, hair thickness, and how much lift you want.
Look for a fit that matches your hair dryer
Diffusers usually attach to specific dryer models. If the fit is loose, airflow may leak and drying can become uneven. Check compatibility on the dryer or accessory listing before you buy.
Consider prong length and spacing
Longer prongs often help support curls and encourage clumping. Closer spacing can feel more “hugging,” especially for tighter curl patterns. If your hair tangles easily, smoother prongs may feel better.
Decide what your goal is: volume or curl clumps
Some diffusers help lift the roots more. Others help curls sit and dry in place. Your best choice depends on whether your main struggle is flat roots, frizz, or uneven drying.
If you’re already using a quality dryer, you can explore compatible attachments through brand accessory pages. For example, you can browse hair dryer accessories at this guide page and choose based on your dryer type and curl needs.
Troubleshooting: What to do when curls won’t cooperate
Even with the best method, hair sometimes acts like it has its own plan. Here are common issues and what to adjust.
My hair is frizzy even after diffusing
Try lowering heat and speed. Also, reduce how often you touch your curls during drying. If your hair is very dry, consider adding a leave-in conditioner first, then using a light layer of gel or cream for friction control.
My curls look stringy or separated
That often means clumps aren’t forming. Make sure you apply products while hair is damp, then use gentle finger pressing to encourage grouping. When diffusing, place sections in the diffuser and hover rather than stirring.
My roots are flat but the ends are fine
Increase root lift by lightly placing the diffuser near the scalp for short moments. You can also dry sections in an upside-down or angled position, then let curls cool before you move them.
My hair is dry outside but still damp inside
This is a sign you may need a longer, gentler drying session. Keep the diffuser moving slowly and work section by section. Also, start with less water so the dryer doesn’t have to push so long.
My curls shrink a lot
Shrinkage can be normal, especially for tighter curl patterns. But if it feels excessive, try using a slightly stronger hold gel and reduce over-squeezing with the towel. Also, avoid drying until fully crisp if your hair tends to contract.
If you’re comparing different drying setups, it can help to understand how dryer tech impacts airflow. You can explore dryer categories and accessories from a curated hair care collection and then focus on what supports gentle, even drying.
FAQs
How long should I diffuse curly hair?
It depends on thickness and how damp your hair is to start. Aim for “dry with softness,” not stiff crispness. Work section by section and stop when curls feel dry to the touch and look set, then use a brief cool shot to help them hold.
Should I diffuse on high heat?
In most cases, medium or low heat works better. High heat can dry the outside quickly and cause frizz, especially if your curls are prone to puffing. If you need more time, it’s usually better to extend gentle drying rather than crank up heat.
Can I use diffuser on wet hair?
It’s usually best to start with damp hair. If your hair is soaking wet, it takes longer to dry and the outer layer may dry unevenly. Blot after washing, apply products, then diffuse from there for more consistent curl formation.
Will a diffuser work for all curl types?
Yes, but technique may change. Tighter curls often benefit from gentler hovering and consistent clump support, while looser waves may need light lifting at the roots and less handling. The key is still even drying and minimal disruption.
CTA: If you’re ready to level up your routine, try this diffuser method on your next wash day. Start with damp hair, apply your curl products carefully, and diffuse with a slow hover-and-cup motion. You’ll likely notice curls look more defined and feel easier to manage.
Recommended reading: If you want inspiration on gentle drying and styling tools, check out hair care routines and dryer tips and build a routine that matches your hair’s needs.
Disclaimer: This article is for general informational purposes only. Results can vary based on hair texture, product choice, and individual styling habits. If you have concerns about your hair or scalp, consider speaking with a qualified professional.

Sarah Courtney writes expert hair content for Heist’s blog and guides. She focuses on practical styling advice and product insights that help you nail everyday looks with salon-level results. Her work blends technical knowledge of hair tools with clear step-by-step tips you can apply at home. You can see her byline on posts like Choosing a Salon Quality Dryer for Everyday Home Styling.


Share:
Hair Dryer Attachments Guide for Smoother Styles
Hair Dryer for Thick Hair: Fast, Smooth Results Guide