


Updated on: 2026-05-04
Summary: Hair dryer attachments can make your routine feel way more “tailored” than basic drying. With the right nozzle, diffuser, or concentrator, you can improve airflow control, reduce frizz, and help create smoother styles with less effort. They also make it easier to match heat to your hair goals, whether you want volume, curl definition, or a sleek finish. The best part? You can often get better results by simply using the right attachment and technique, not by buying a whole new system.
Why Hair Dryer Attachments Matter
If your hair dryer feels like it always gives you the same results, hair dryer attachments can change the whole game. Attachments help you control airflow direction and intensity, which matters more than most people expect. Think of it like choosing between a wide shower stream and a focused handheld spray. Same water, totally different impact.
With the right attachment, you can smooth strands more efficiently, create soft volume at the roots, or bring out definition in curls and waves. You’re also more likely to spend less time blasting heat all over your head. That’s a win for everyday comfort and long-term hair care habits.
Types of Hair Dryer Attachments (And What They Do)
There are a few attachment types you’ll see again and again. Once you understand what each one is designed for, choosing becomes way easier.
Concentrator nozzle
This is the classic “pointed” attachment that narrows airflow. It’s great for sleek blowouts, targeted smoothing, and directing heat where you want it most.
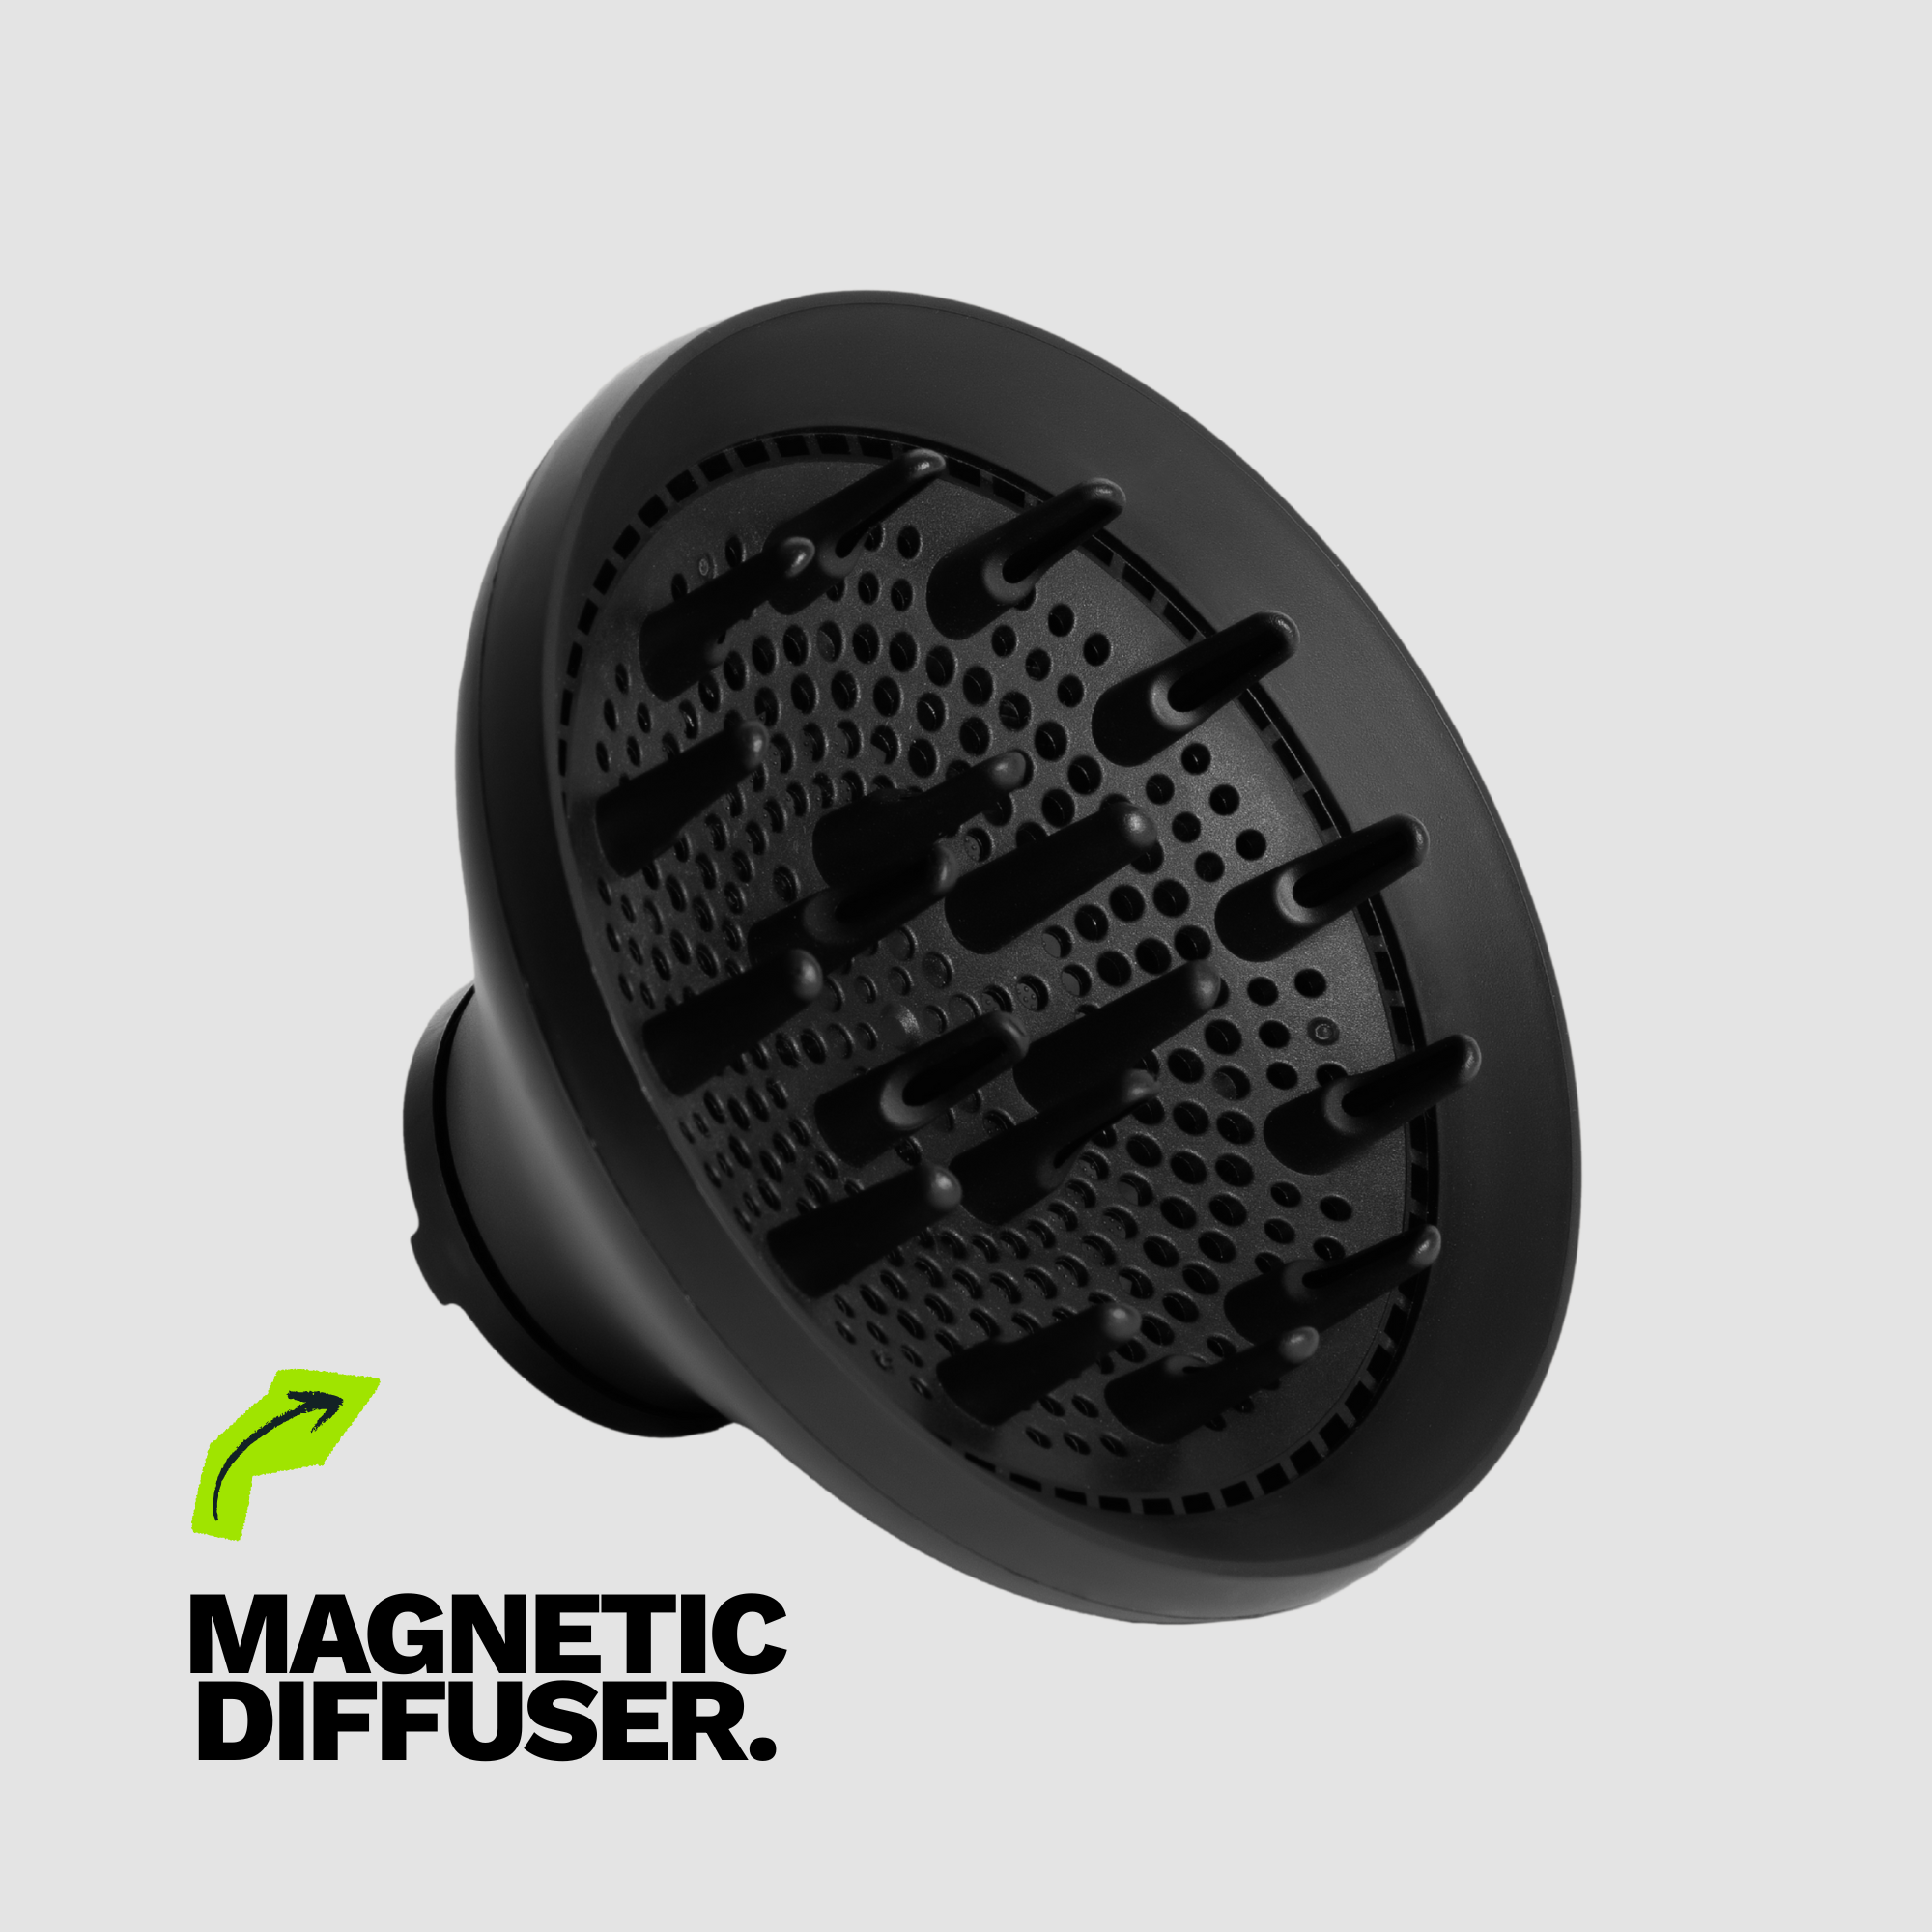
Diffuser
A diffuser spreads airflow out and helps reduce the harsh, straight blast that can disturb curl patterns. If you have waves, curls, or coils, a diffuser often helps you get a softer, more defined finish with less frizz.
Wide-mouth airflow tools
Some attachments have a broader opening meant for faster general drying or more even airflow. They can be helpful when you’re trying to cut down on drying time or you want less “hot spot” intensity.
Styling brushes and comb-like add-ons
These can help guide hair during drying. They’re popular for adding lift, smoothing edges, or shaping the ends. If you like a more hands-on routine, this type can feel like training wheels.

Symbolic airflow paths: focused beam versus spread mist
You don’t need every type. Most people rotate between one concentrator-style option and one diffuser-style option, then add a brush or wide-mouth tool only if it fits their routine.
How to Choose the Right Attachment
Let’s keep it simple. Start with your hair goal, then match attachment features to it. Here are a few quick ways to narrow down your choice.
- For sleek and smooth: Look for a concentrator nozzle that directs airflow in a narrow path.
- For waves and curls: Choose a diffuser designed to spread airflow and encourage curl formation.
- For faster everyday drying: Consider wider airflow options that help dry more evenly.
- For shaping: If you like styling while you dry, go for comb or brush-style attachments.
It also helps to think about your hair texture and density. Thicker hair often benefits from more airflow control, while finer hair may prefer gentler, more distributed airflow to avoid excessive frizz or flatness.
If you’re building a routine around a high-performance dryer, it’s smart to check compatible attachment systems. For example, Dyson hair dryers and accessories are designed to work with their specific tool lineup. You can browse their hair dryer accessories section here: Dyson accessories and tools.
How-To Guide
Ready to get better results fast? Here’s a friendly, practical routine you can repeat. It’s designed to work for most hair types, and you’ll adjust the steps based on your texture and styling goal.
Step 1: Start with the right prep
Begin with towel-dried or lightly damp hair. If your hair is soaking wet, you’ll spend longer on high heat. Use a gentle leave-in conditioner or heat-friendly styling product if you like. Then detangle carefully so you don’t fight knots later.
Step 2: Match the attachment to your goal
Want a smooth, straight look? Use a concentrator nozzle and dry section by section. Want more bounce or definition? Use a diffuser and keep airflow distributed.
Step 3: Use the right heat and speed
Start with medium heat and medium airflow. If your hair still feels damp, increase gradually instead of jumping to max immediately. High heat for too long can make hair feel rough and harder to style. Think “enough to dry,” not “enough to cook.”
Step 4: Dry in a smart order
Work from roots to ends. Lift at the crown for volume, and guide your hair in the direction you want it to fall. For curls and waves with a diffuser, flip hair sections gently into the bowl area rather than yanking or stirring aggressively.
Step 5: Finish to lock in style
Once your hair is mostly dry, finish with a short cool or lower-heat burst if your dryer has that option. Then add a light serum or smoothing cream to tame flyaways. Less product is usually more—start small and add only if needed.
Common Mistakes People Make with Attachments
Even with the right hair dryer attachments, a few common slip-ups can hold you back. If any of these sound familiar, don’t worry—you’re not alone.
- Holding the attachment too close for too long: This can cause frizz and uneven dryness. Keep a comfortable distance and move steadily.
- Using one attachment for every look: Your hair goal changes, so your airflow should too.
- Skipping sectioning: Thick hair needs sections. Otherwise, you’ll dry the top while the bottom stays damp.
- Over-stirring with a diffuser: Gentle placement and soft movement usually works better than aggressive scrunching.
- Not letting hair finish drying: Styling while hair is still too wet often leads to droop or puffiness later.
What to Look For When Buying Attachments
Buying attachments can feel confusing because the options vary by design, fit, and airflow shape. Here’s what matters most so you don’t end up with something that’s “fine” but not amazing.
- Compatibility: Make sure the attachment is designed to fit your dryer model or connector system.
- Airflow goal: Choose based on whether you want smoothing, definition, or faster drying.
- Heat airflow distribution: Look for designs that spread airflow where it should go (especially for curls).
- Easy cleaning: Attachments collect dust and product buildup. A tool that’s easy to wipe helps you keep performance consistent.
If you already own a Dyson dryer and you want to explore attachment choices that match your setup, you can also compare styling tools on their official hair dryer pages: hair dryer styling tools.

Checklist visuals: fit, airflow, finish, and cleaning icons
That “small details” approach is where results come from. When the attachment fits well and the airflow pattern matches your hair goal, you’ll usually notice a difference in how quickly you get the look you want.
Care and Maintenance Tips
Attachments work best when they stay clean. Product residue can block airflow and make drying feel less effective. Here’s a simple maintenance routine you can stick with.
- Wipe after each use: Let the attachment cool, then wipe it with a dry or slightly damp cloth.
- Gentle deep clean occasionally: If you use styling products, clean buildup regularly. Avoid soaking parts unless the manufacturer instructions say it’s okay.
- Check for loose fit: If an attachment feels wobbly, it may not sit correctly, which can affect airflow.
- Store carefully: Keep attachments dry and protected so they’re ready when you are.
If you want to keep your dryer accessories in great shape, it’s also helpful to read the care guidance included with your tools. Following the manufacturer instructions will help you avoid damage and keep airflow consistent.
When you’re ready to upgrade your routine, focus on one attachment that solves your biggest styling problem first. Maybe your biggest issue is frizz after drying, or maybe it’s lack of curl definition. Pick the tool that addresses that, then build from there.
For more hair care inspiration from a trusted brand ecosystem, you can explore Dyson dryer pages like: Dyson hair dryers. And if you’re interested in styling-focused tools, you might like viewing model-specific accessory pages such as: Supersonic origin styling and finish.
If you’d like to share your current routine, reply with your hair type and your go-to style. I can help you decide whether you’d benefit more from a concentrator-style attachment or a diffuser-style attachment.
Common Questions Answered
Which hair dryer attachments are best for frizz?
Most people see less frizz with a concentrator nozzle because it directs airflow more precisely. It helps smooth the hair shaft and reduces random fluffiness. Pair that with gentle section drying and a cool finish if your dryer offers it.
Can I use attachments on dry hair?
You can, but it usually works best on damp-to-mostly-dry hair. Using heat on fully dry hair can sometimes increase frizz or flyaways if you stay in one spot too long. For best results, dry until near dry, then style and finish.
Do diffuser attachments work for straight hair too?
They can. A diffuser is designed to spread airflow, so it may add volume and soften hair texture. If your goal is sleek straight styles, a concentrator will usually be a better match, but the diffuser can still be fun for airy volume days.
How do I know my attachment is actually making a difference?
Look for measurable changes in your routine. Faster drying, smoother feel, less frizz, or longer-lasting shape are all strong signs. Also pay attention to how much product you need at the end—when airflow matches your hair goal, you often need less.
Disclaimer: This article is for general informational purposes only. Results vary based on hair type, product use, and technique. Always follow the manufacturer instructions for your specific hair dryer attachments and styling tools.

Sarah Courtney writes expert hair content for Heist’s blog and guides. She focuses on practical styling advice and product insights that help you nail everyday looks with salon-level results. Her work blends technical knowledge of hair tools with clear step-by-step tips you can apply at home. You can see her byline on posts like Choosing a Salon Quality Dryer for Everyday Home Styling.


Share:
Mastering Adjustable Heat Settings for Safe Styling
Diffuser for Curly Hair: Get Defined Curls Without Frizz