


Updated on: 2026-10-05
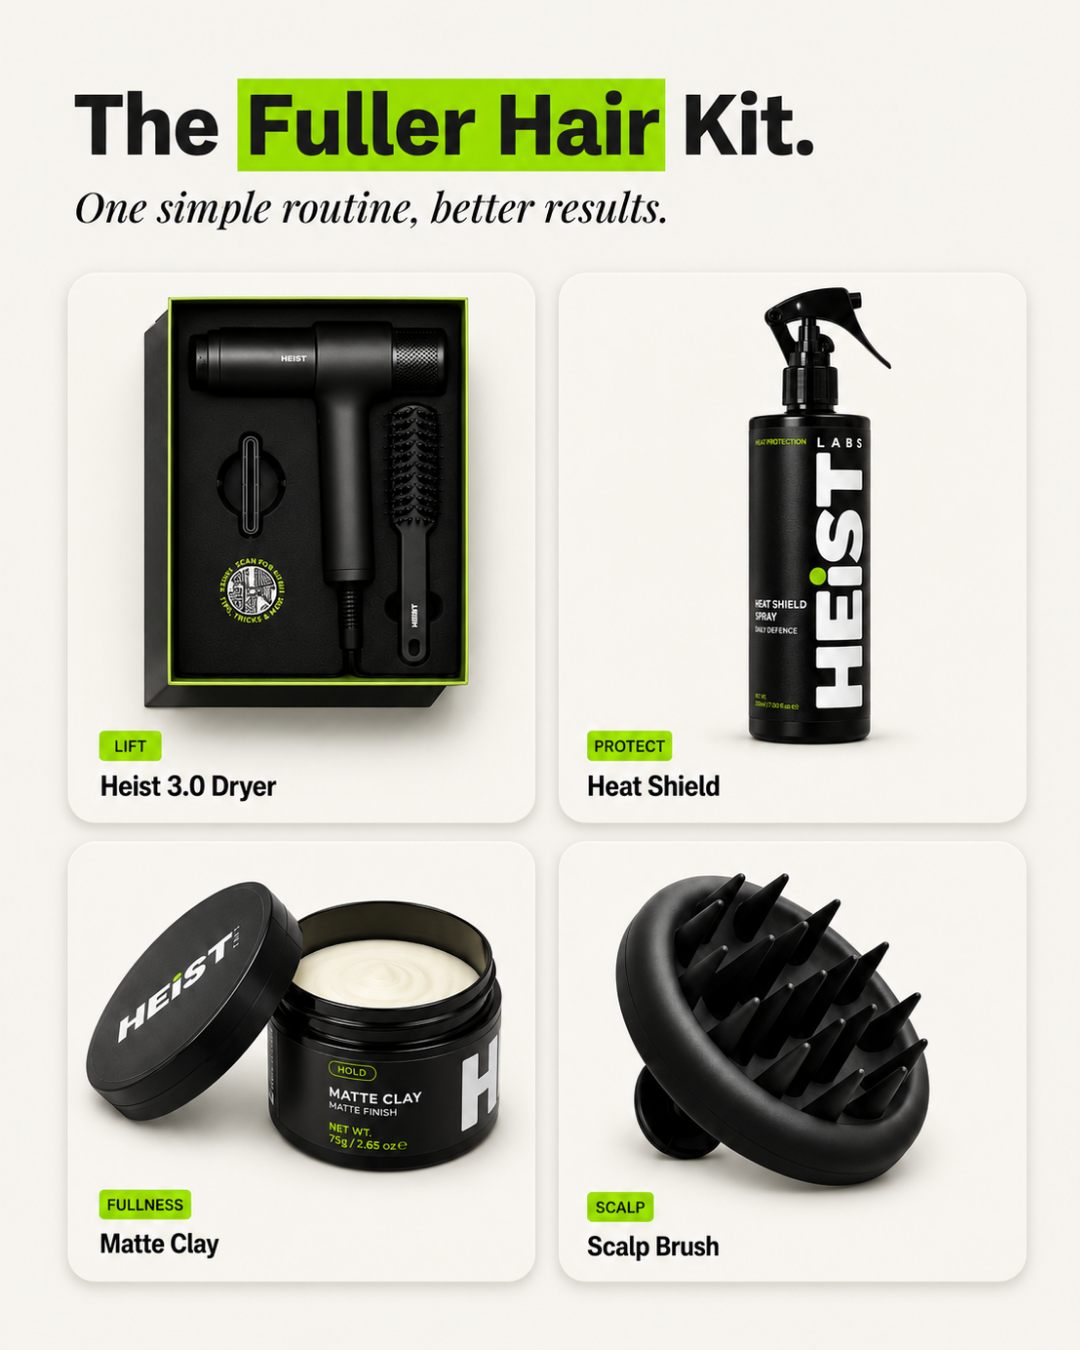
Quick read: Choosing a new dryer can feel overwhelming, especially when you want fast results without damaging your hair. This guide breaks down what to look for in a Heist Hair Dryer, from heat settings to airflow control. You’ll also get practical tips for drying different hair types and a simple routine you can repeat every wash day. By the end, you’ll know how to match the tool to your goals—sleek, bouncy, or softly defined.
1. Benefits & Reasons
2. How a Heist Hair Dryer Fits Into Your Routine
3. Key Features to Look For
4. How to Use It (A Simple Step-by-Step)
5. Drying Techniques by Hair Type
6. Care and Maintenance Tips
7. FAQ
Benefits & Reasons
If you’ve ever stood at the mirror thinking, “Why does my hair take forever to dry?”, you’re not alone. Hair drying can eat up time, and it can be stressful if you’re trying to get a good finish without turning your strands into crunchy straw.
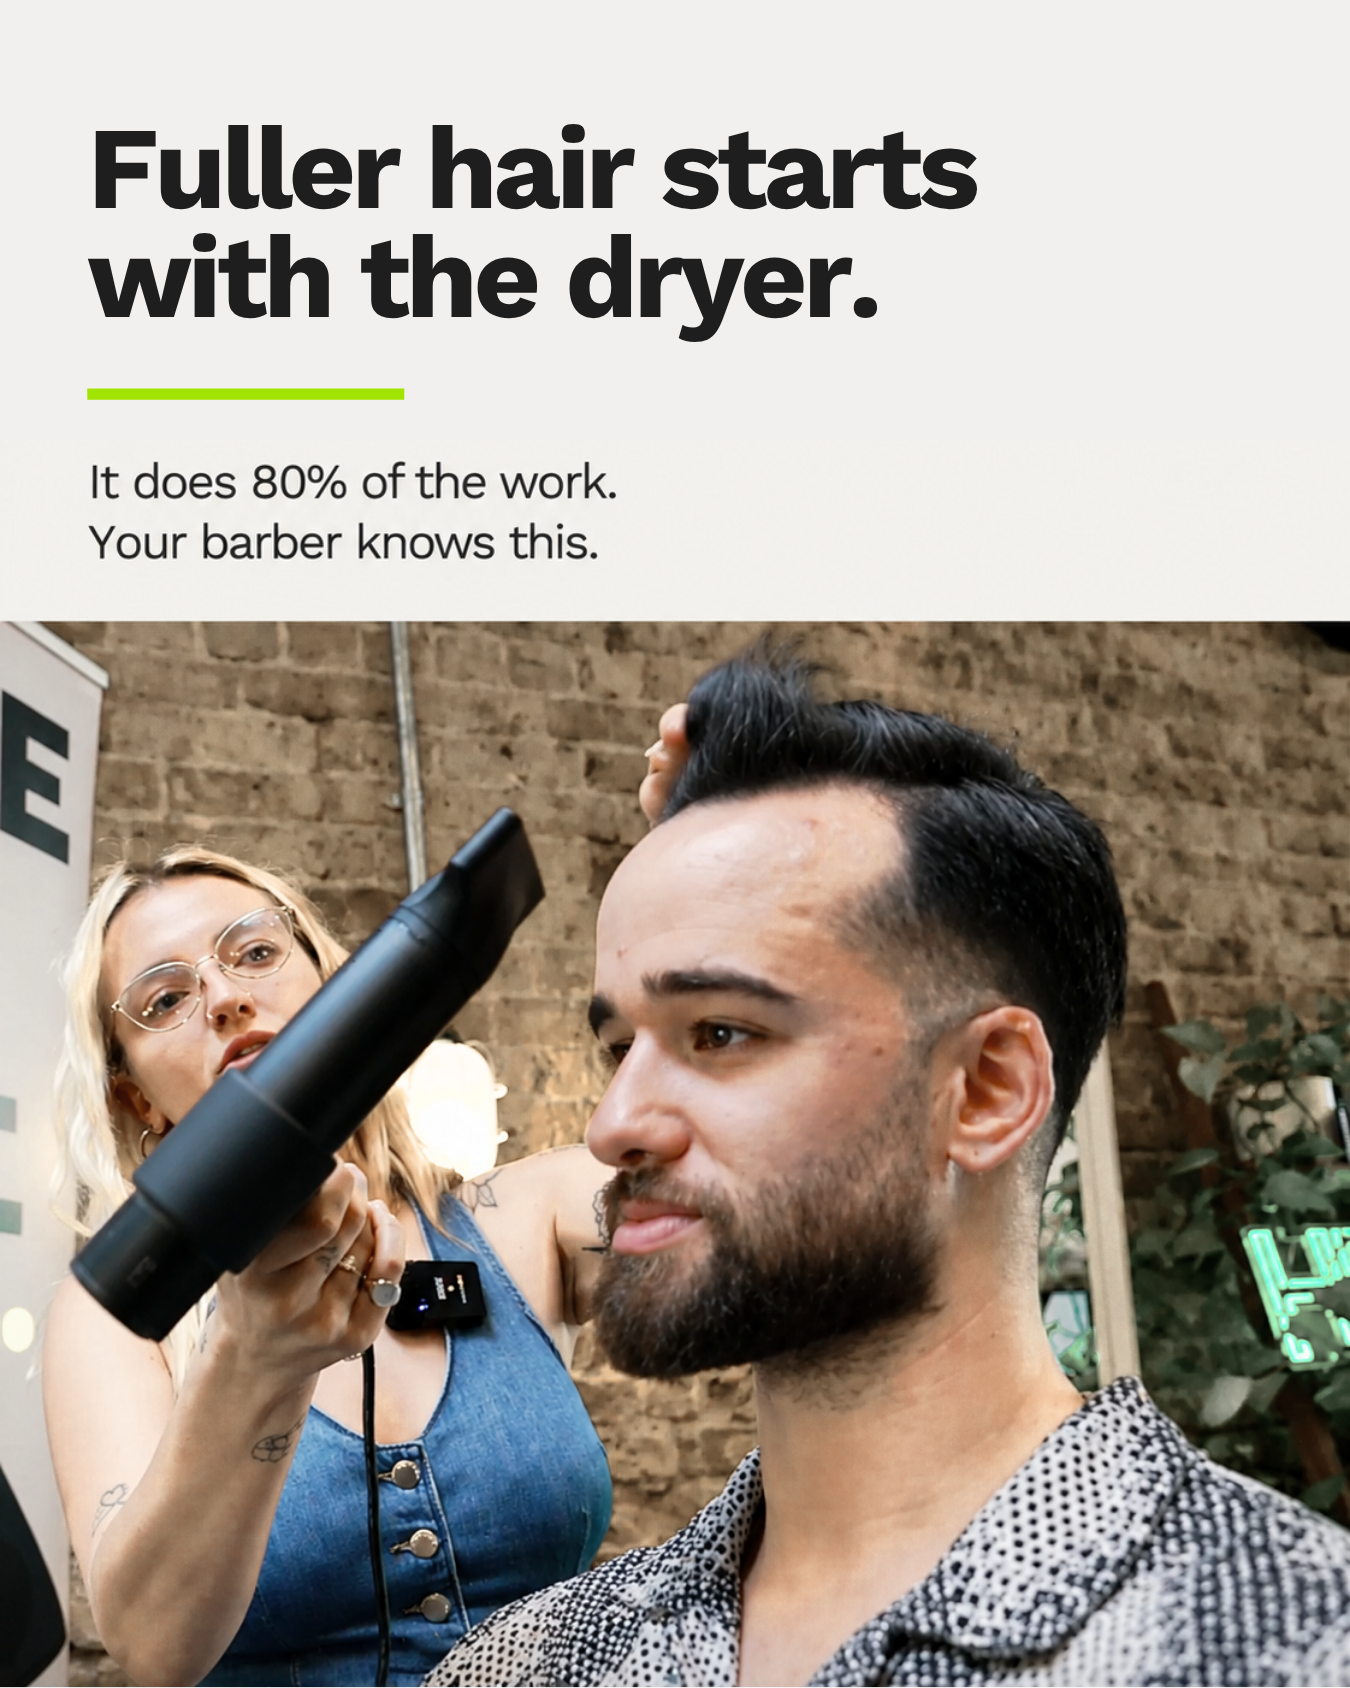
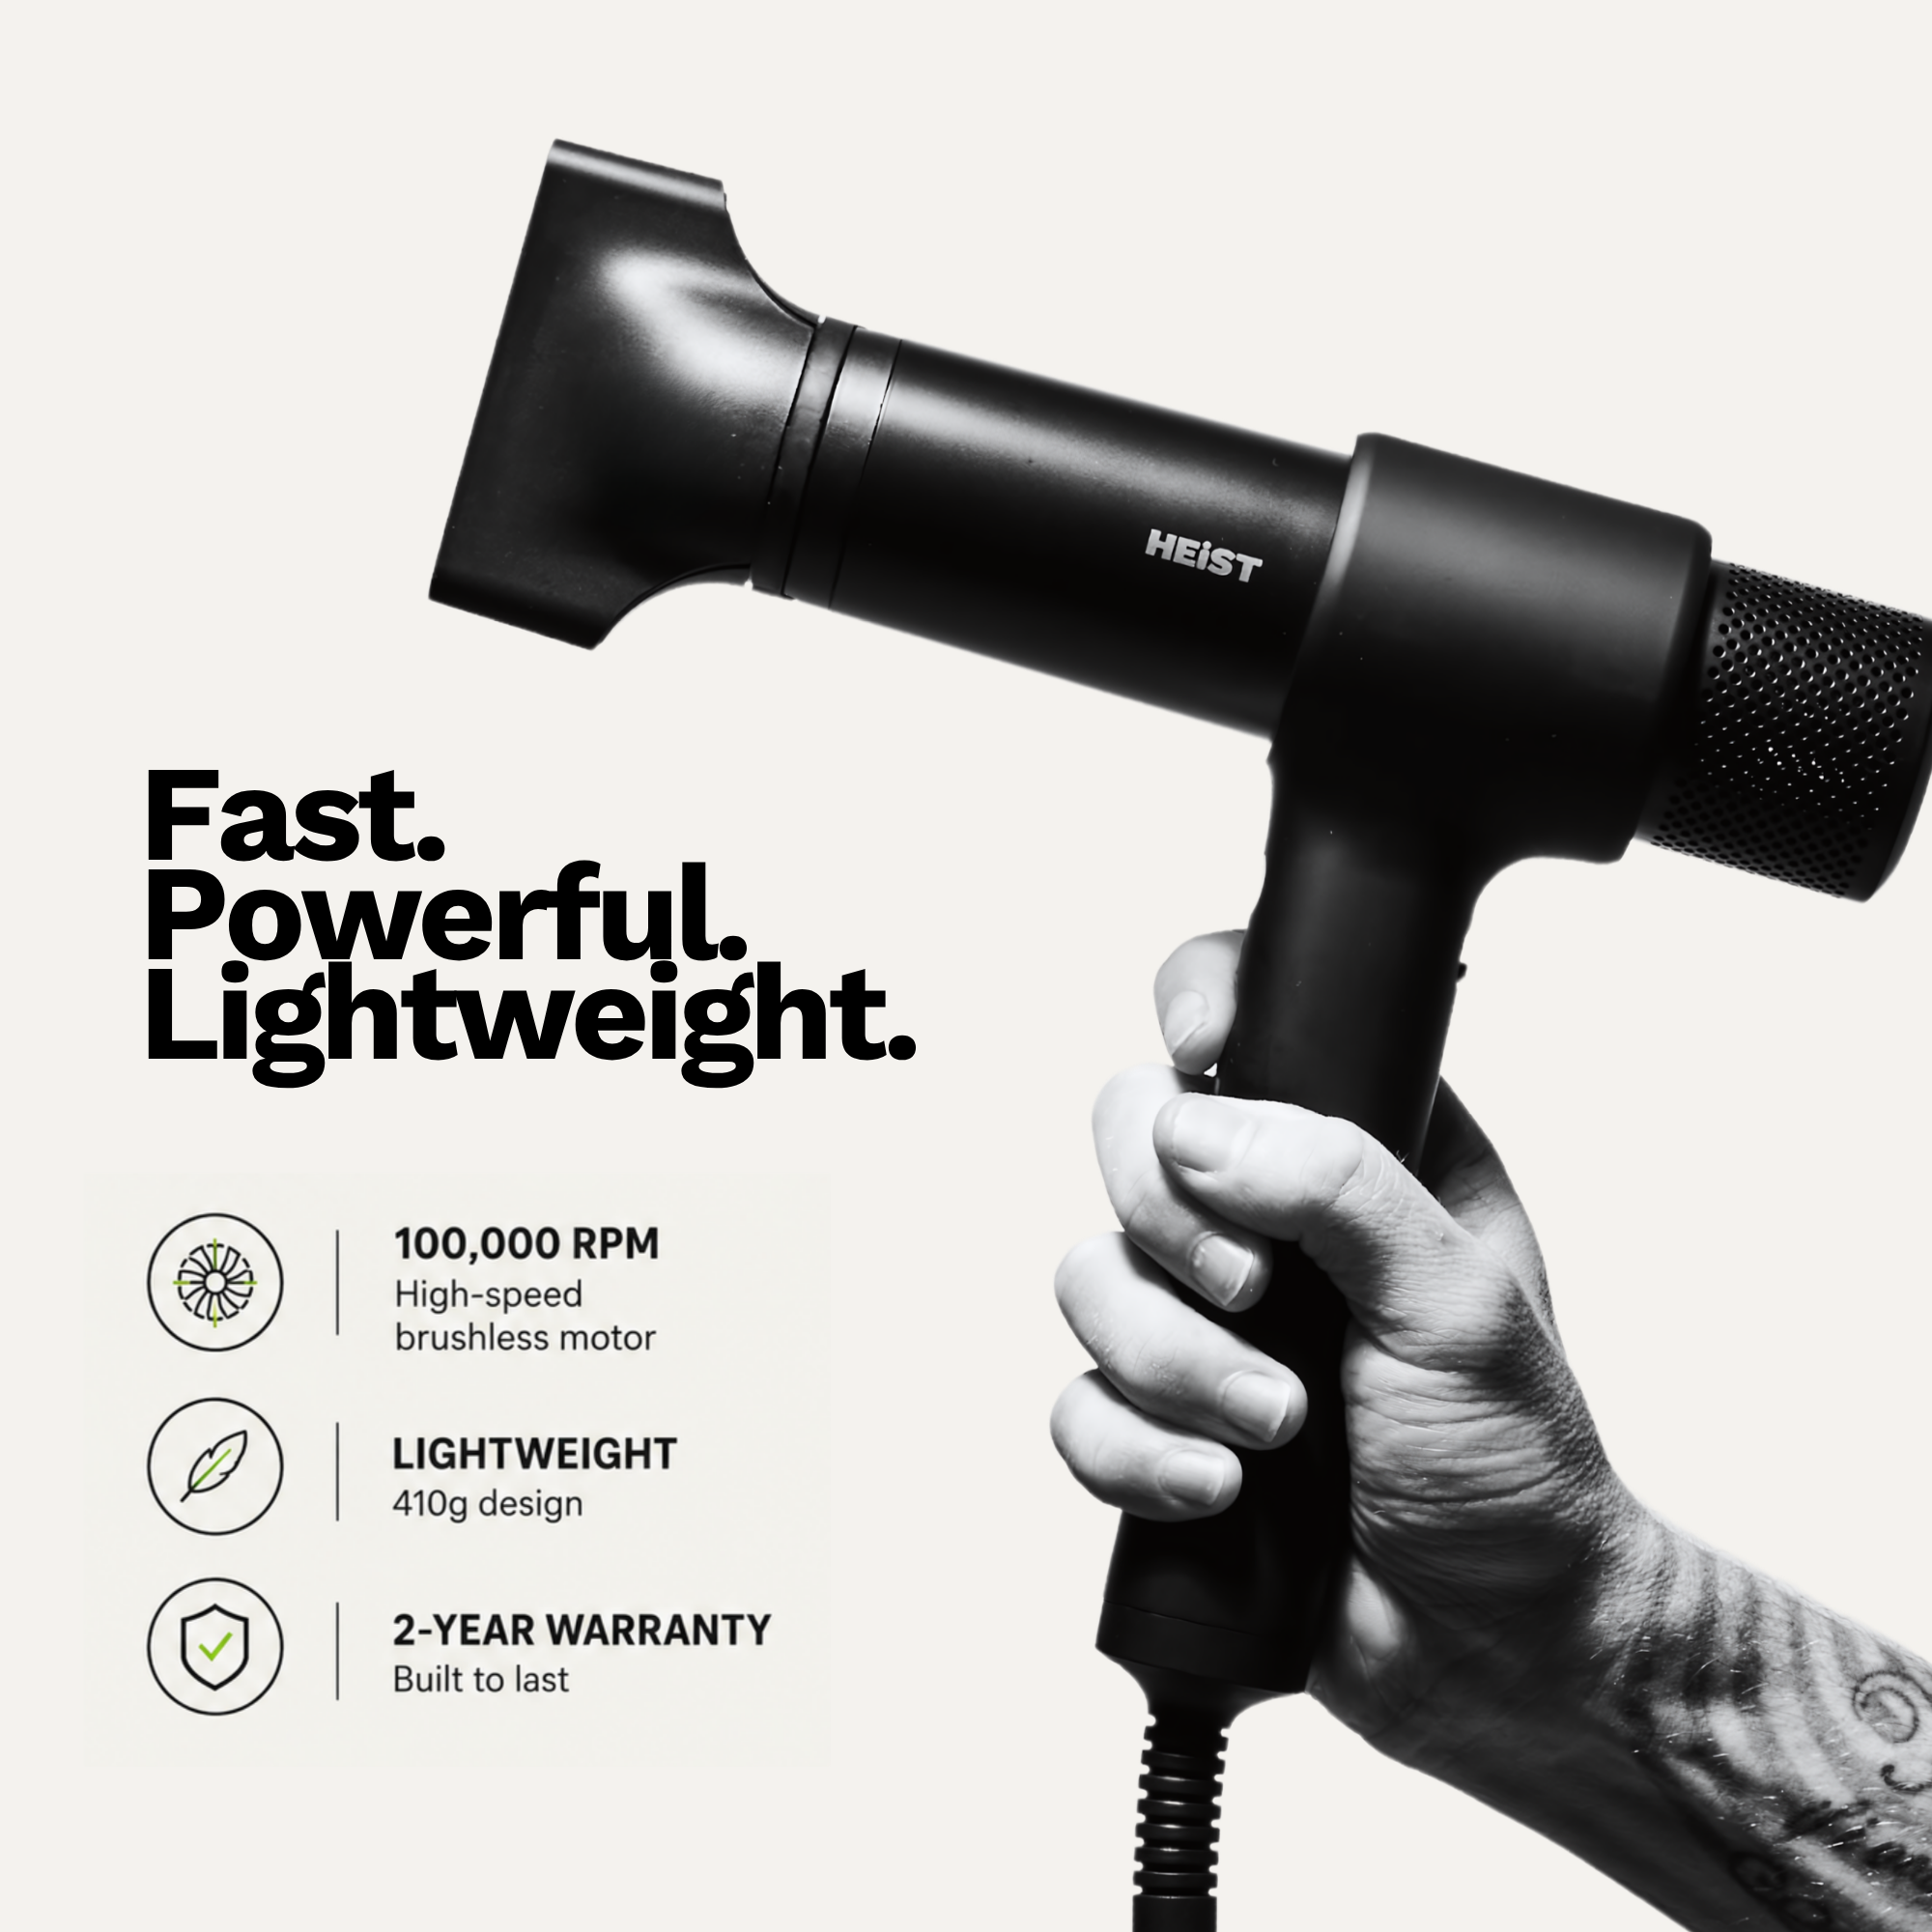
A Heist Hair Dryer can make your routine feel more manageable. Not because it’s magic, but because it helps you dry more efficiently and style with less guesswork.
Faster, more consistent drying. When airflow and heat are balanced, your hair dries more evenly. That means fewer damp spots and fewer repeat passes that can add stress to your hair.
Better control for your style goals. Whether you want smooth ends, bouncy volume, or gentle wave definition, you need control. The right dryer setup makes it easier to direct airflow where you want it.
Comfortable everyday use. Most people aren’t trying to style like a pro every day. You just want something that’s easy to pick up, simple to use, and consistent across different wash days.
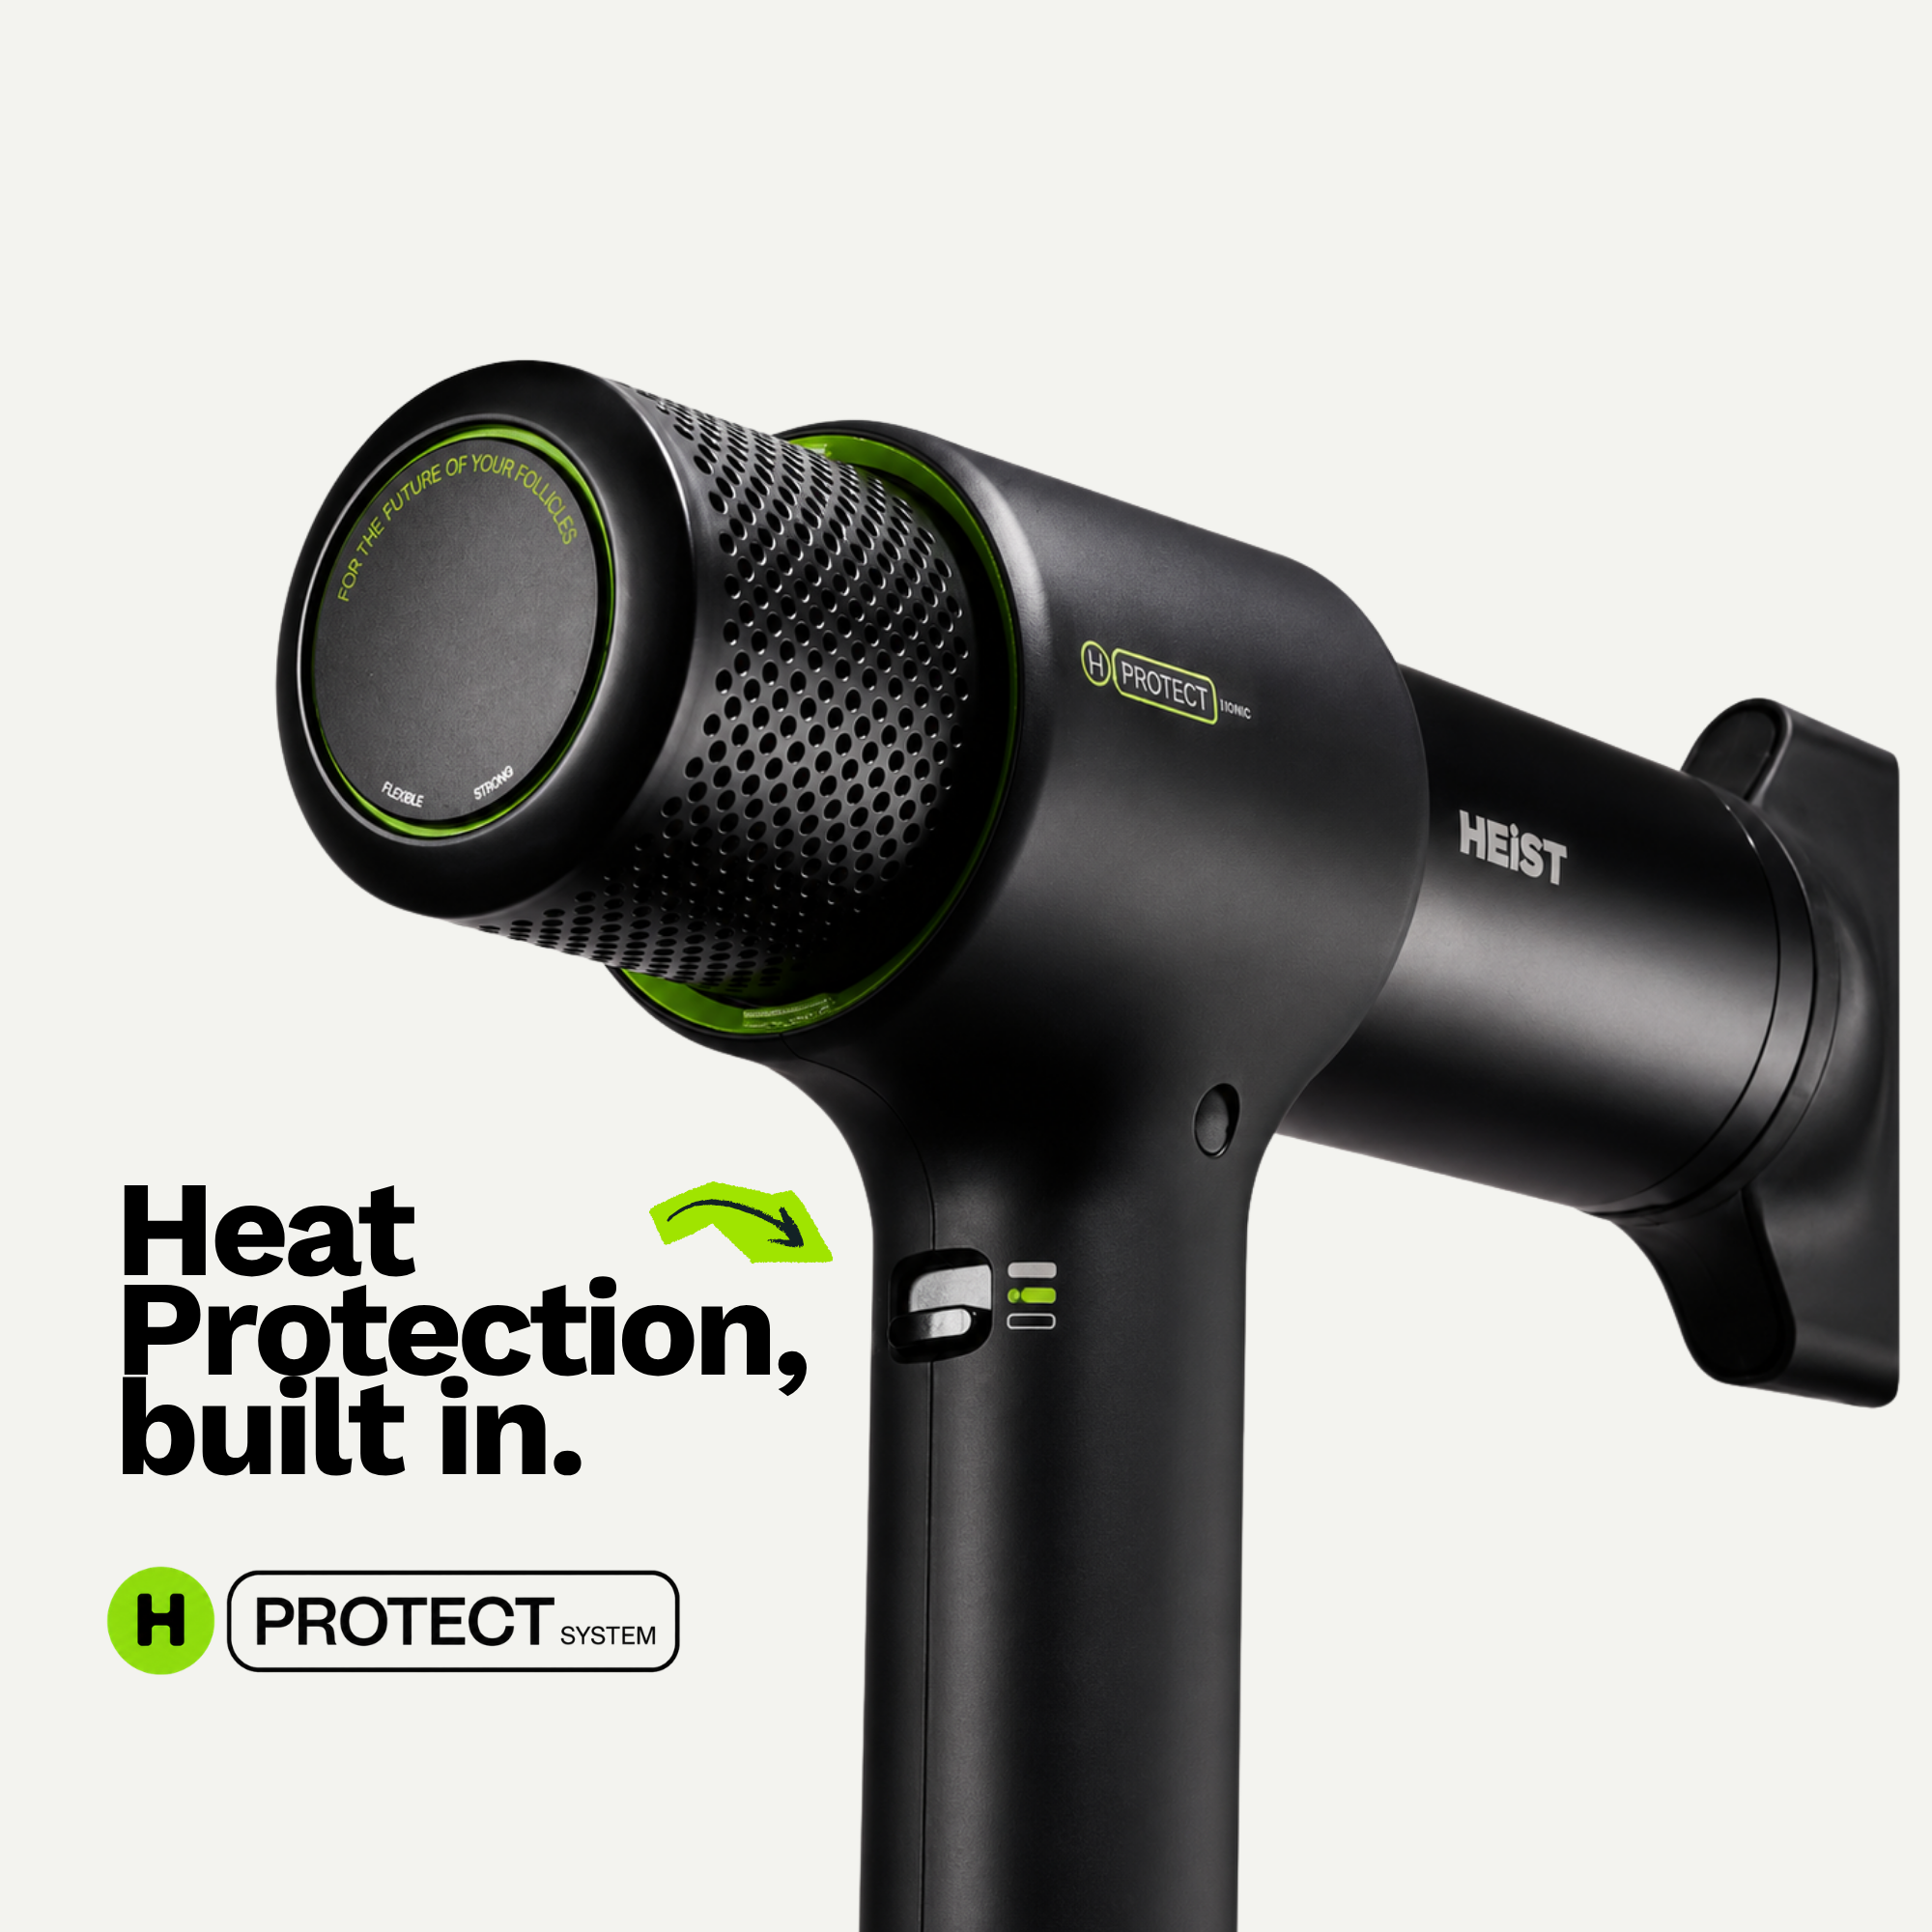
Supports healthier-looking results. When you dry smart—using the right temperature, the right attachment, and the right timing—you reduce unnecessary heat exposure. That’s what helps hair look more polished over time.

Airflow arrows over damp hair fibers
How a Heist Hair Dryer Fits Into Your Routine
Think of drying as two jobs: removing water and setting the foundation for your style. If you get stuck in the “blast it until it’s dry” mindset, you might end up with frizz, flat roots, or awkward texture that doesn’t match what you wanted.
With the right approach, a Heist Hair Dryer becomes the bridge between shower time and your finished look. Here’s the mindset shift that helps most people:
- Work in stages: start with efficient drying, then switch to a finishing technique.
- Keep heat and time in balance: higher heat isn’t always better. Shorter, targeted drying often looks nicer.
- Use airflow direction: your hair responds to where the air travels, not just how long you dry.
For many folks, the biggest win is consistency. Once you know your “default routine,” every wash day gets easier. And if you change your style—sleek one day, more volume the next—you adjust just a few steps instead of rebuilding your whole routine.
If you’re comparing dryers and want a broader view of what premium brands consider important, you can also browse hair dryer options for helpful feature context.
Key Features to Look For
Not every dryer is built the same. Before you buy, it helps to compare features like a checklist. You don’t need every extra, but the right mix can make your routine feel smoother.
Heat settings and airflow control
Look for adjustable heat and multiple airflow levels. Different hair types need different care. Fine hair usually benefits from gentler heat, while thicker hair often needs more airflow to move through water quickly.
Drying attachments
Attachments can be small, but they make a big difference. A concentrator nozzle can help you smooth and direct airflow. If you like volume, a diffuser-style attachment can support texture without blasting it into frizz.
Even airflow distribution
Some dryers feel “hot spots” because airflow isn’t evenly spread. Even distribution supports more uniform drying, which often means less repeat drying time.
Comfort and handling
This sounds simple, but it matters. If a dryer feels awkward, you’ll avoid using it, or you’ll stop early because your arm gets tired. The best dryer is the one you’ll actually use the way it should be used.
Speed for real-life routines
Whether you’re drying before work or squeezing in a quick refresh, speed matters. Just remember: faster doesn’t have to mean higher heat. Efficiency is the goal.
If you’re curious about how different designs and airflow approaches work in practice, you can explore straight and wavy dryer models for examples of what brands emphasize.

Three-stage drying timeline: blot, dry, finish
How to Use It (A Simple Step-by-Step)
Let’s keep this practical. Here’s a straightforward method that works for most people, even if you’re not “beauty lab” level. You can tweak it for your hair thickness and texture.
Step 1: Prep like you mean it
Start after the shower. Gently blot hair with a towel (avoid aggressive rubbing). If you use styling products, apply them now while hair is still damp.
- For smooth styles: consider a lightweight smoothing product.
- For volume: use a root-lifting mousse or foam.
- For curls and waves: choose a curl-friendly leave-in or cream.
Step 2: Start with airflow, then adjust heat
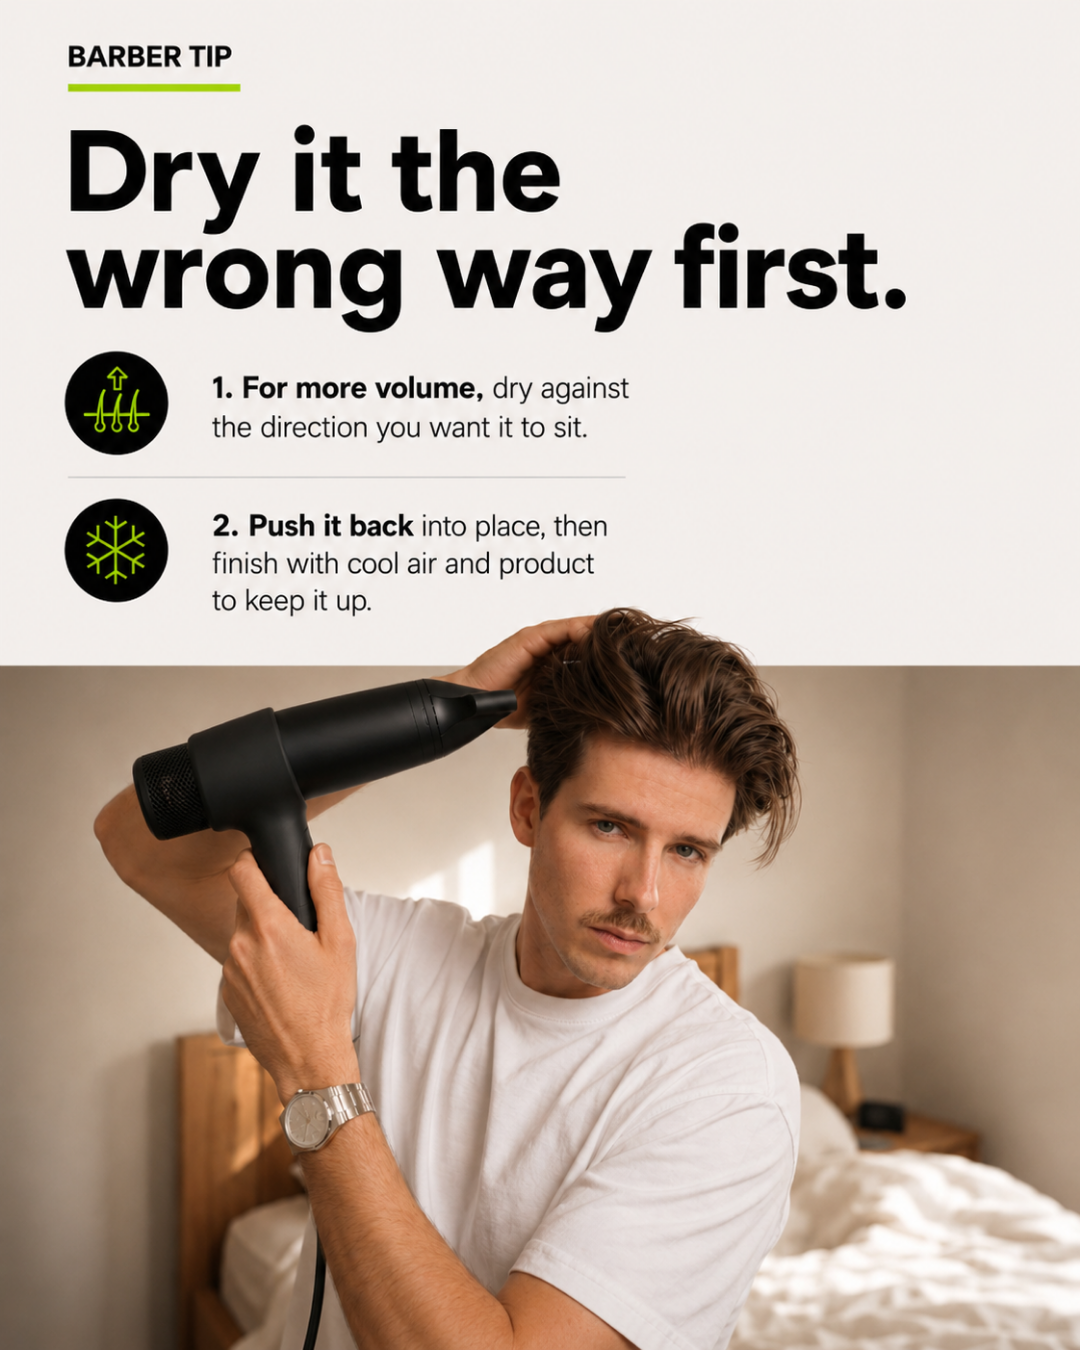
Begin drying with moderate heat and airflow. Focus on the roots first since they tend to hold water the longest. Then move down the lengths.
If you notice frizz, try lowering heat or increasing airflow slightly so you dry without overcooking the hair.
Step 3: Finish with direction
Once hair is mostly dry, switch to your finishing technique. Direct the airflow in the direction you want the hair to lay.
This is where you can shape your style:
- Sleek: follow with airflow from root to ends.
- Volume: lift roots while drying, then let hair cool slightly.
- Texture: use gentle airflow and let your natural pattern show.
Step 4: Use timing, not just heat
The goal is to get hair dry, then stop. Lingering too long can create dryness or stiffness, especially if you’re using higher heat settings.
Drying Techniques by Hair Type
Different hair types have different priorities. The same routine can work, but the technique should shift. Here are easy starting points.
Fine or straight hair
If your hair gets flat quickly, focus on roots. Use airflow to lift at the crown and avoid heavy products that weigh hair down.
- Dry roots first for quicker overall results.
- Use lower heat for longer strands if you notice dryness.
- Finish with cool or lower heat to help set the style.
Thick or wavy hair
Thicker hair needs airflow to move water. Start with a higher airflow level (not necessarily higher heat), then reduce once hair is about 80–90% dry.
- Separate sections so you’re not drying the surface only.
- Consider a nozzle for smoother results.
- Don’t overwork the ends—less time with heat often looks better.
Curly or coily hair
Curly hair likes patience, gentle handling, and airflow that doesn’t disturb your shape too much. Avoid rough towel drying and try to work with your natural pattern.
- Use a diffuser-style technique if you want softer definition.
- Let hair dry with less direct blasting.
- Refresh with a little mist and re-dry lightly instead of blasting from fully wet.
If you’re exploring attachment options and styles, you might find inspiration in curly and coily dryer designs—just remember to adapt what you learn to your own routine.
Care and Maintenance Tips
Taking care of your dryer helps it perform better and last longer. You don’t need to be overly technical—just be consistent.
- Keep the vents clear: dust and lint can build up. Turn off the dryer and wipe the exterior regularly.
- Check attachments: nozzle and diffuser parts should fit securely. If you notice looseness, stop and inspect.
- Let it cool: don’t store it right away if it’s still hot. Give it a moment to cool down.
- Use a sensible routine: you don’t need to dry every day at the hottest settings. Match the heat to your hair and your day.
FAQ
Is a Heist Hair Dryer good for everyday use?
Yes, it can be. The real key is using the right heat level and drying only until your hair is dry. If you find you’re using high heat every single day, try lowering the temperature or using less direct airflow for part of the routine.
How do I prevent frizz when drying?
Start with gentle towel drying and apply your leave-in or styling product while hair is damp. Then use directed airflow and finish with a calmer heat level. Also, avoid repeatedly drying the same section for too long—shorter drying sessions usually look smoother.
What attachment should I use for my hair type?
If you want smoother, straighter results, a concentrator-style nozzle is often helpful for directing airflow. If you want more natural texture, a diffuser-style approach can support curls and waves with less disruption. If you’re unsure, try one attachment for a week and observe how your hair responds.
Final Thoughts & Next Step
Buying a dryer is one of those choices that should make your life easier, not more complicated. A Heist Hair Dryer can fit seamlessly into your wash-day routine when you focus on airflow control, smart heat use, and a consistent method.
If you’re ready to dial in your hair routine, browse more hair care inspiration on the Heist of London site at Heist of London. And when you’re ready to refine your technique, come back to this guide and tweak just one thing at a time.
Disclaimer: This article is for general information only and doesn’t provide medical or professional hair care advice. Results vary by hair type, product choices, and styling habits. Always follow the manufacturer instructions for your specific hair dryer and use heat responsibly.

Sarah Courtney writes expert hair content for Heist’s blog and guides. She focuses on practical styling advice and product insights that help you nail everyday looks with salon-level results. Her work blends technical knowledge of hair tools with clear step-by-step tips you can apply at home. You can see her byline on posts like Choosing a Salon Quality Dryer for Everyday Home Styling.





Share:
Hair Styles Men Can Easily Pull Off at Any Length