


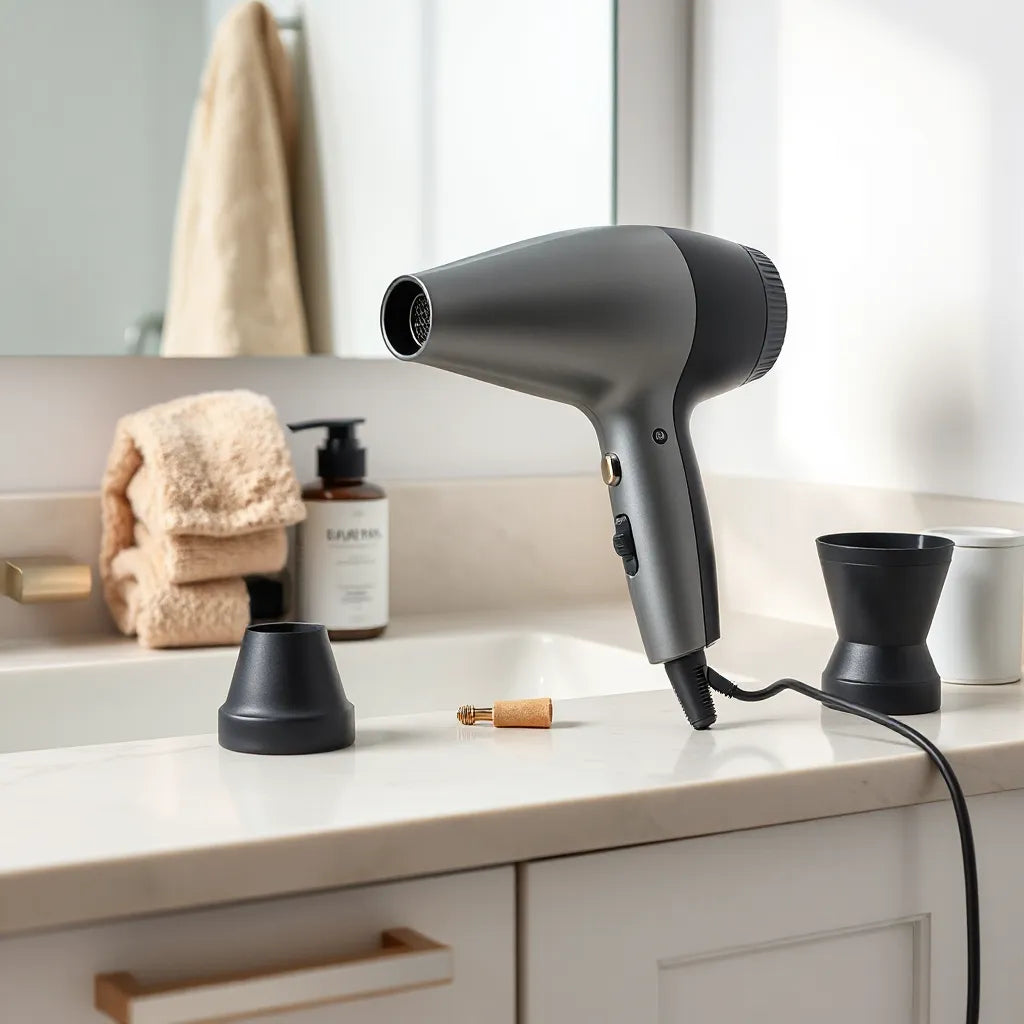
Updated on: 2026-10-19
If you’ve ever stood in front of the mirror with damp hair and a half-used towel, you already know why a Men’s Hair Dryer can feel like a game-changer. This guide walks you through what actually matters—heat settings, airflow, attachments, and how to match the dryer to your hair type. You’ll also get a simple buying checklist and an easy step-by-step routine you can follow after every wash. By the end, you’ll know how to choose confidently and style without guesswork.
Men’s Hair Dryer buyer’s checklist
Let’s make this practical. A good blow-dry tool isn’t about fancy marketing—it’s about control and comfort. If you want results that look intentional (not like “I dried my hair wherever it landed”), use this checklist before you buy.
1) Pick the right power and airflow
Most guys don’t want hair tools that feel weak. Look for strong airflow that moves hair quickly, especially if you have thick hair or a lot of volume. But don’t ignore comfort: high airflow is great, as long as you can direct it easily.
- For thick or dense hair: prioritize airflow and speed.
- For fine hair: focus on control so you don’t over-dry.
- For shorter cuts: quicker drying matters more than extreme heat.
2) Choose heat settings you can actually manage
Heat is powerful, but you shouldn’t have to “guess” your way through it. A dryer with multiple heat levels—and ideally a cool shot or cool setting—helps you finish your style without frying your strands.
A simple rule: start moderate, then increase only if needed. If your hair feels dry or brittle after styling, you’re likely using too much heat or drying longer than you need.
3) Look for attachments that match your style
Attachments are where personalization happens. A concentrator nozzle can help you direct airflow for smoother results, especially for side parts, short styles, or a tidy hairline. If you style longer hair, you may want a diffuser-like approach (even without curly-special features) to reduce frizz.
- Nozzle/concentrator: better control for straighter or sleeker looks.
- Wide airflow: faster drying across the head.
- Optional tools: useful if you switch styles often.
4) Consider a hair-type fit (not just “men’s” branding)
Even though you’re shopping for a Men’s Hair Dryer, hair is hair. Think about texture and behavior:
- Straight or slightly wavy: aim for directional airflow and manageable heat.
- Curly or coily: prioritize gentle drying and frizz control.
- Wavy with thickness: balance airflow with moderate heat so you don’t puff out.
You’ll get better results when the dryer supports your hair’s natural pattern instead of fighting it.
5) Safety and everyday ease
Look for features like a secure cord length, a comfortable grip, and an easy-to-reach controls layout. If you blow-dry daily, comfort matters more than you think. Also, a dryer that dries efficiently can reduce time spent in high heat, which is a win for everyday styling.
6) Check for “budget vs. value” signals
A higher price doesn’t automatically mean better, but it often correlates with better airflow control, more settings, and fewer hassles. Instead of chasing the biggest number on the box, compare:
- How many heat and speed options you get
- Whether you can switch to cool airflow
- How easy it is to use with one hand
Now that you’ve got the basics, let’s turn it into a routine you’ll actually enjoy.

Checklist icons: airflow, heat levels, nozzle focus
Step-by-step guide to styling like you planned it
If blow-drying feels like a chore, it’s usually because the routine is unclear. Here’s a straightforward method you can repeat every wash day. The goal is simple: dry efficiently, shape with control, and finish with confidence.
Step 1: Start with towel-dried hair
You don’t want soaking-wet hair. After washing, gently squeeze out extra water with a towel or microfiber cloth. Think “remove excess moisture,” not “scrub until it’s dry.” Rough drying can create frizz and make your next steps harder.
Step 2: Add product based on your style goal
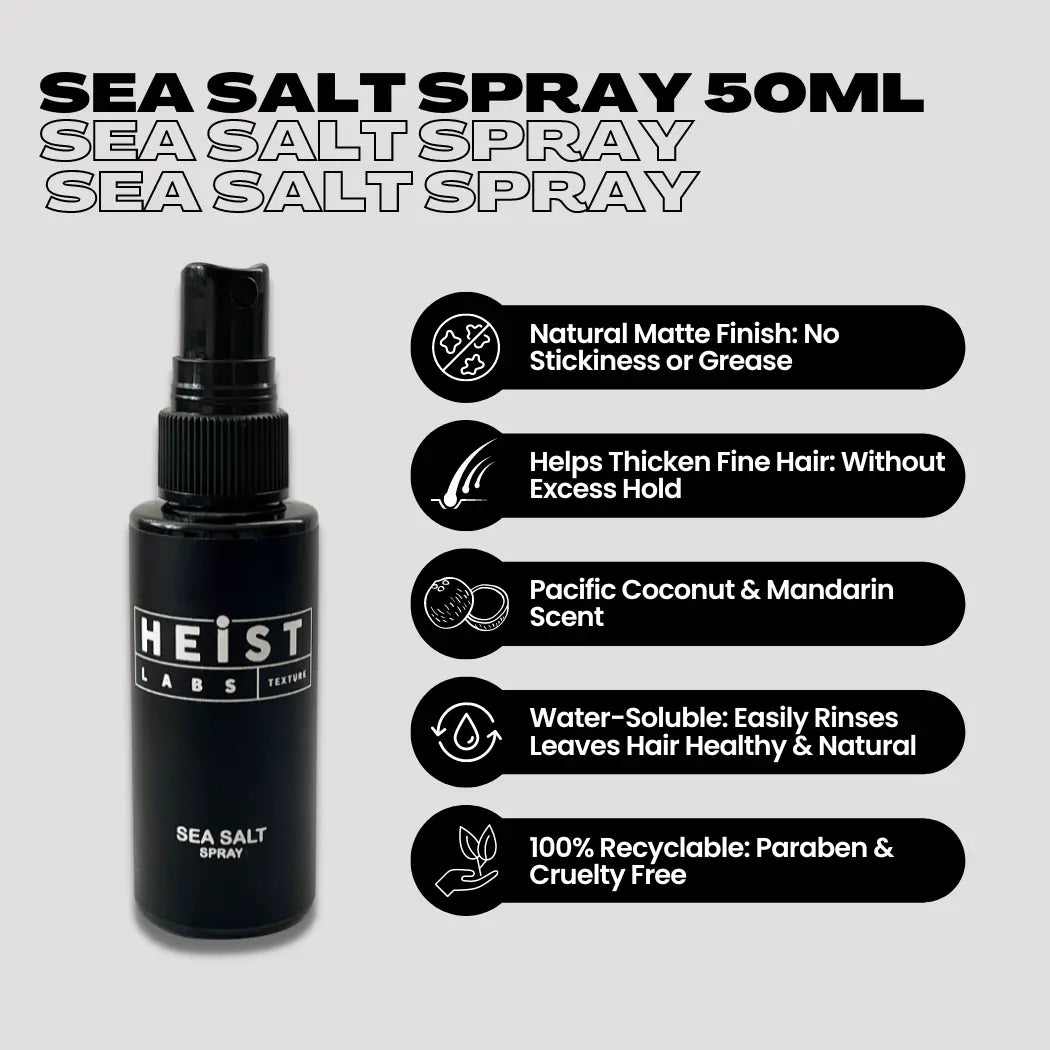
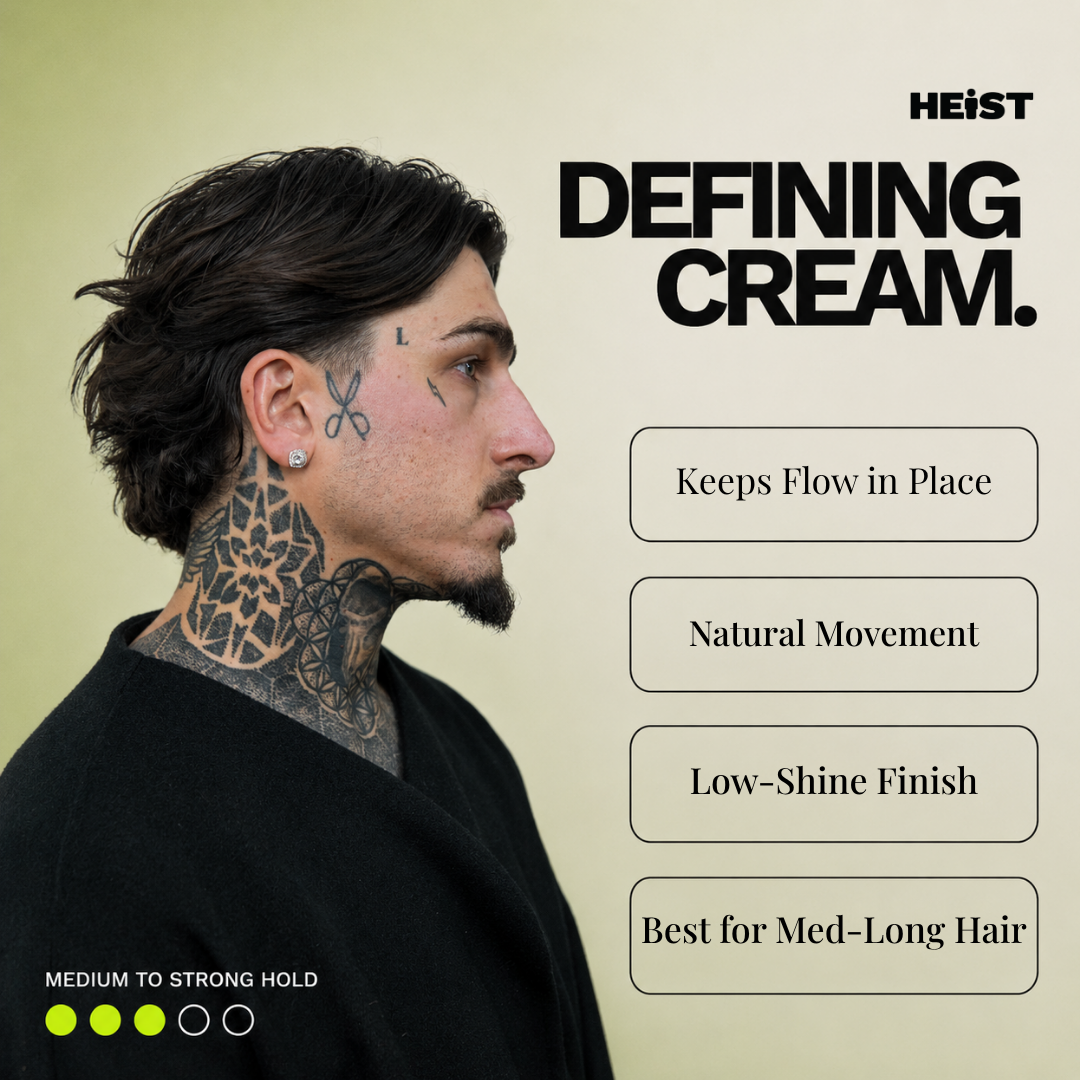
Pick just one product to start, then build from there. If your hair tends to be dry, a lightweight leave-in or moisture-focused styling product can help. If you want hold, use a small amount of styling cream or paste.
- Smoother look: a lightweight cream
- Texture and control: matte styling paste
- Frizz reduction: a small amount of leave-in
Use less than you think. You can always add more, but it’s tough to “remove” buildup once it’s there.
Step 3: Section your hair for faster, cleaner results
This is where the magic happens. Divide hair into sections (top, sides, and back). Use clips or simply hold sections as you go. You’ll spend less time chasing flyaways and more time shaping.
Step 4: Choose your settings (and don’t rush the heat)
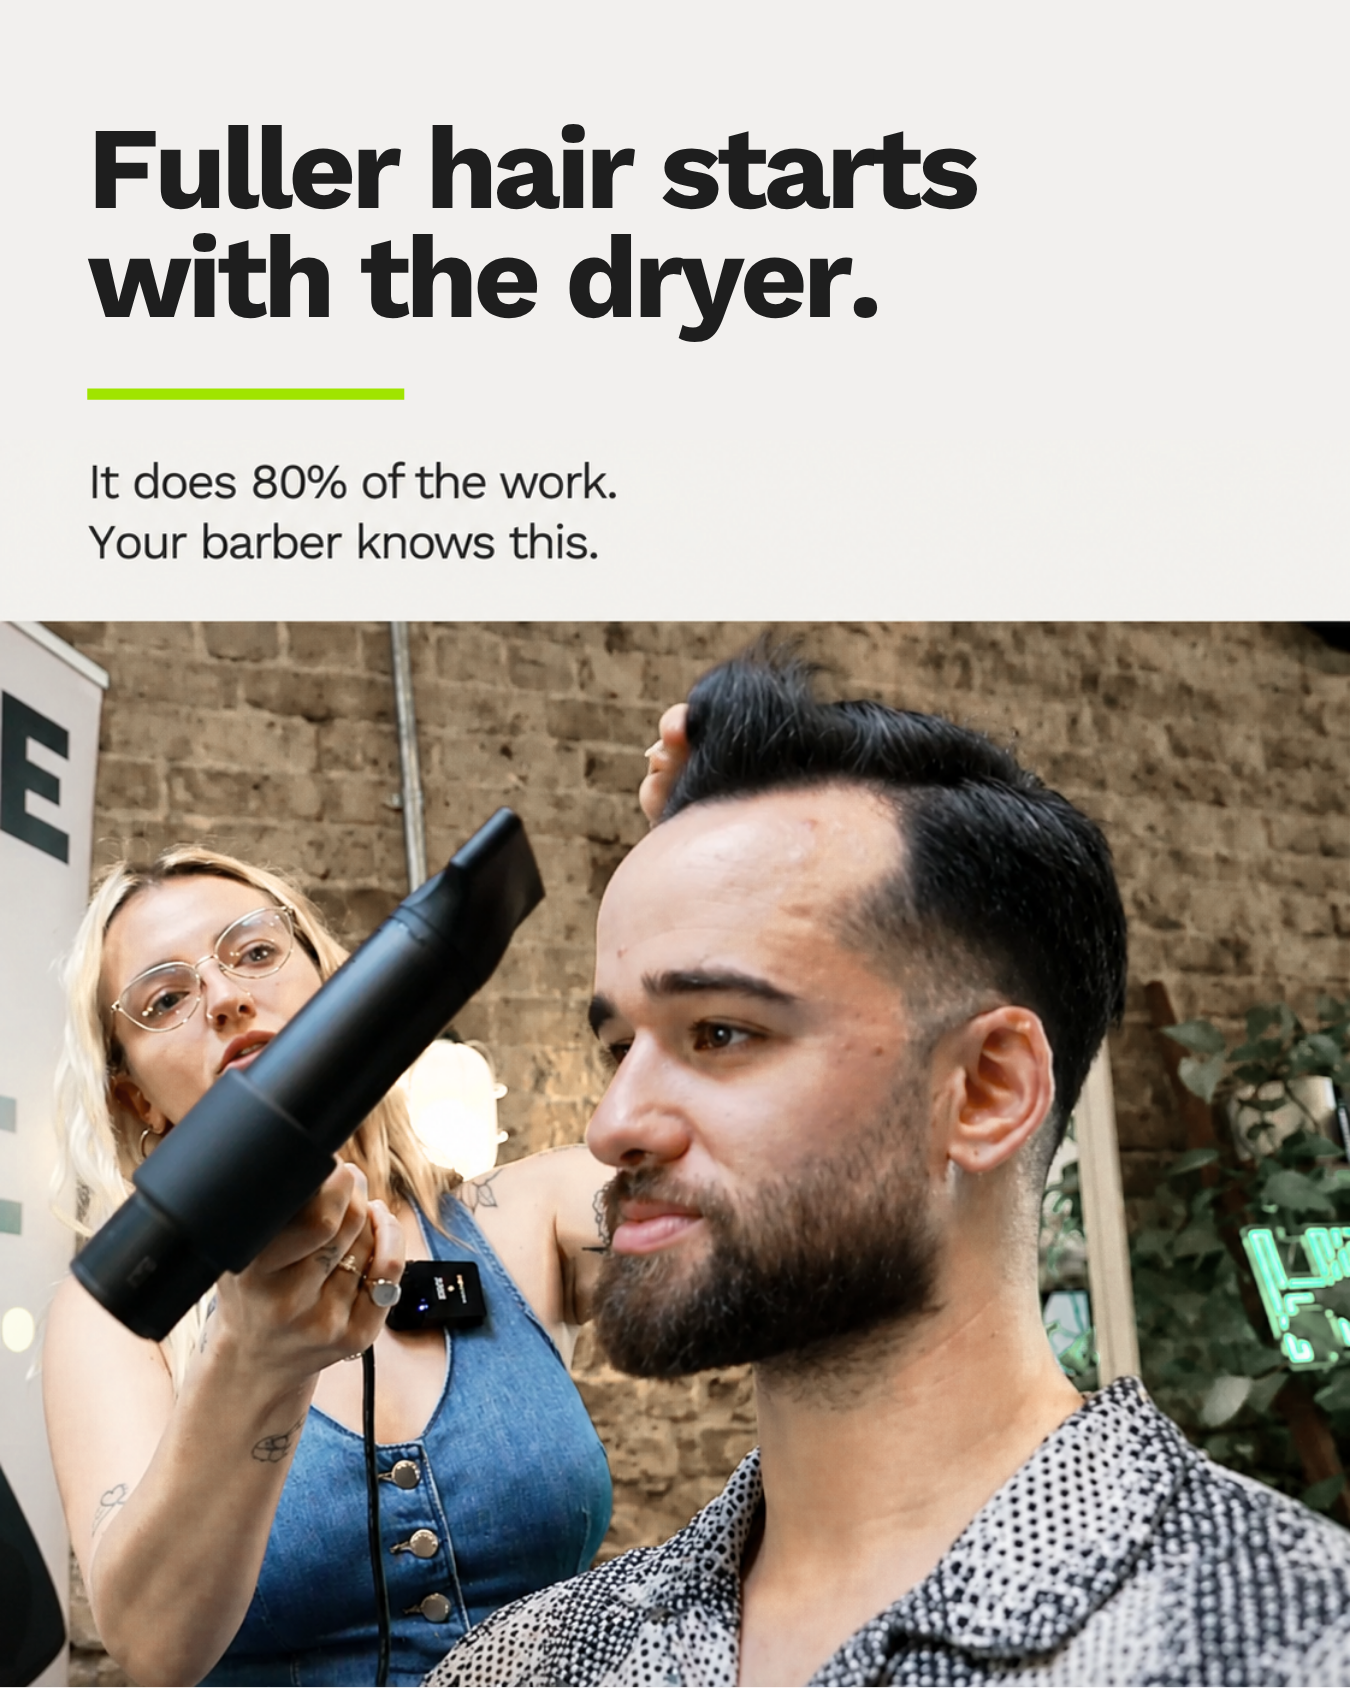
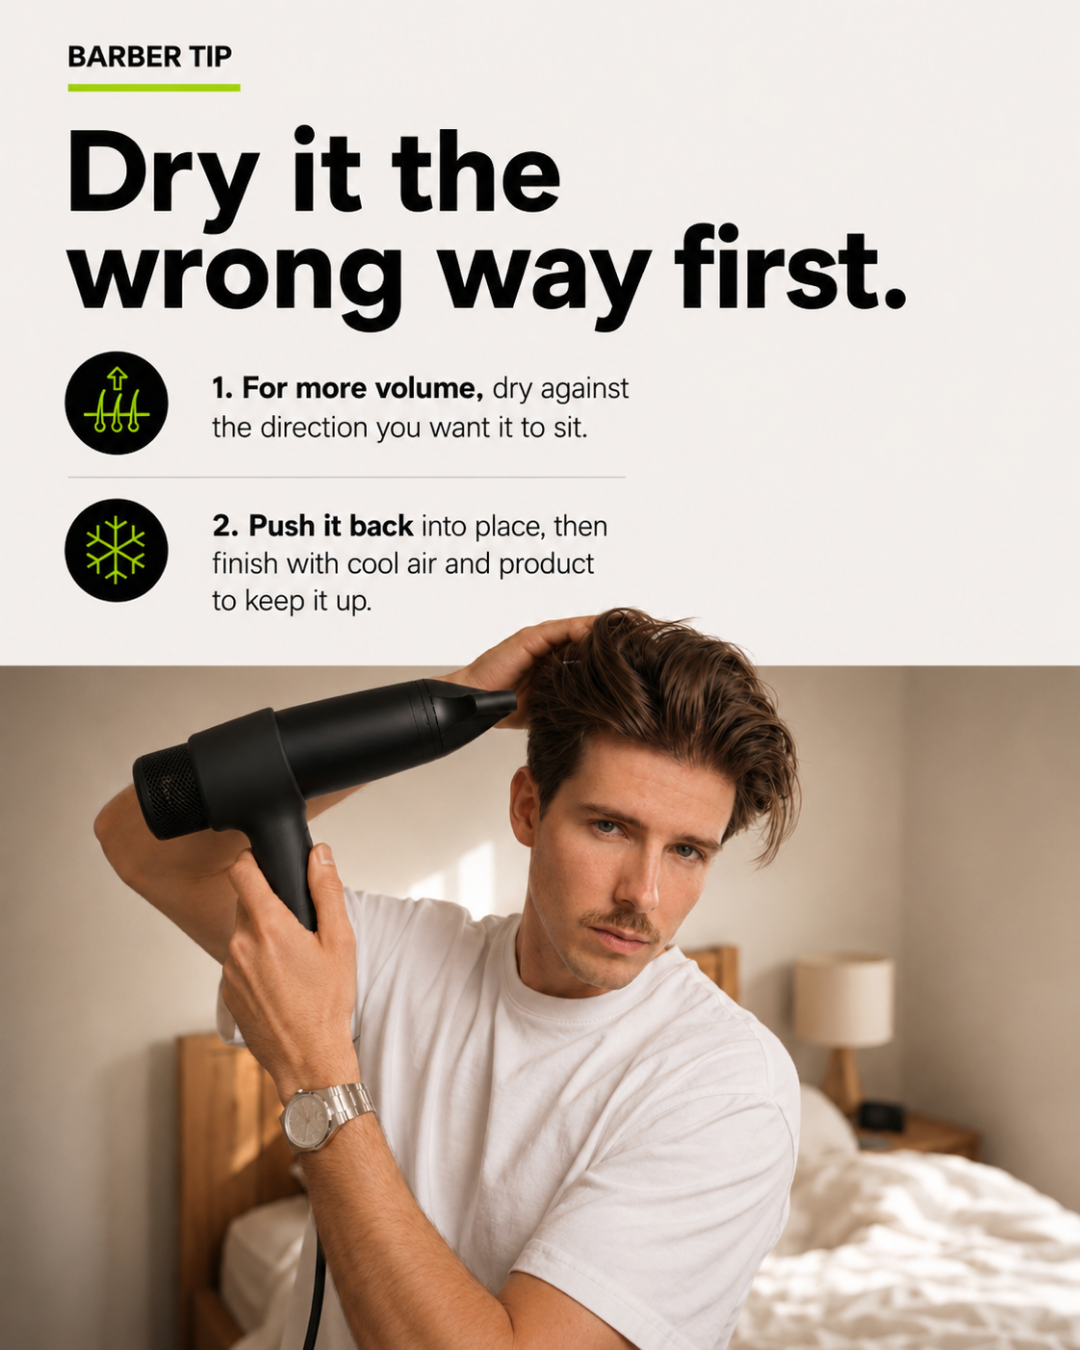
Start with medium heat and medium airflow. Dry the roots first because that’s where your hair usually stays damp longest. Once the roots feel dry, you can finish drying and shaping the lengths.
If you notice frizz, lower the heat slightly and focus airflow downward along the hair direction. If you notice your hair doesn’t move, increase airflow—not necessarily heat.
Step 5: Direct airflow like a pro
Here’s a simple technique: use the airflow to guide hair, not just dry it. For sleek results, keep the nozzle near the hair and move it slowly while you brush or comb. For natural texture, lift sections slightly and let the airflow follow the shape.
Step 6: Use a cool finish to lock the style
Once you’re almost done, switch to cool airflow for a short finish. This helps your style feel more set, especially if you’re working with volume or a side part. It’s also a great way to avoid that “warm and fragile” feeling right after drying.
Step 7: Touch up with your hands
After cooling, use a small amount of product on your fingertips to fix the last stray bits. This keeps the look natural and prevents over-styling.

Hair sections diagram: roots drying, cool finish arrows
Quick styling scenarios (so you’re not guessing)
Let’s make this feel real. Imagine three common situations:
- Short haircut, daily routine: start at the roots, use medium heat, and finish with cool airflow for a clean outline.
- Medium length, occasional product: apply a small amount of leave-in, dry in sections, and use directional airflow for shape.
- Thicker hair, higher frizz risk: towel-dry gently, keep heat moderate, and spend extra time drying the roots before the lengths.
Common mistakes to avoid
- Using too much heat for too long: dry efficiently and finish with cool airflow.
- Skipping sections: it makes drying longer and increases frizz.
- Over-applying product: buildup can dull hair and look heavy.
Once you have a routine, choosing a Men’s Hair Dryer becomes much easier, because you’ll know exactly what you need it to do for your hair.
Shop smart with a quick check: if your dryer’s controls are hard to use, your routine will fall apart. Comfort and usability are part of performance.
Explore hair styling basics (friendly tip: build your routine one step at a time.)
FAQ
How do I know which heat setting is right for my hair?
Start with a moderate heat level and dry the roots first. If your hair is still damp after a reasonable amount of time, increase airflow or heat slightly. If your hair feels rough or looks extra dry soon after styling, lower heat and reduce drying time. The best setting is the one that dries your hair efficiently without making it feel stressed.
Is a concentrator nozzle worth it for men’s styles?
For many everyday looks, yes. A nozzle helps you direct airflow in one direction, which can make it easier to smooth the top, tidy the sides, or strengthen a side part. If you like a more natural, textured finish, you can still use the nozzle, just move it more gently and don’t force everything flat.
Can I use a Men’s Hair Dryer for curly or wavy hair?
Absolutely. Curly and wavy hair usually benefits from gentler drying and consistent airflow direction. Work in sections, use moderate heat, and don’t over-handle your hair while it’s hot. A cool finish can also help reduce frizz and keep your shape.
How often should I blow-dry?
It depends on your hair and routine. If you’re using the dryer to style every day, aim for efficient drying: moderate heat, shorter sessions, and a cool finish. If you only need shape or touch-ups, you can use shorter sessions after towel-drying or on slightly damp hair.
Disclaimer: This article is for general informational purposes and doesn’t replace professional advice. Results vary based on your hair type, routine, and product choices. If you have concerns about your hair or scalp, consider consulting a qualified professional.

Sarah Courtney writes expert hair content for Heist’s blog and guides. She focuses on practical styling advice and product insights that help you nail everyday looks with salon-level results. Her work blends technical knowledge of hair tools with clear step-by-step tips you can apply at home. You can see her byline on posts like Choosing a Salon Quality Dryer for Everyday Home Styling.




Share:
Healthier Hair Starts With Safer Drying Tips