


Updated on: 2026-08-31
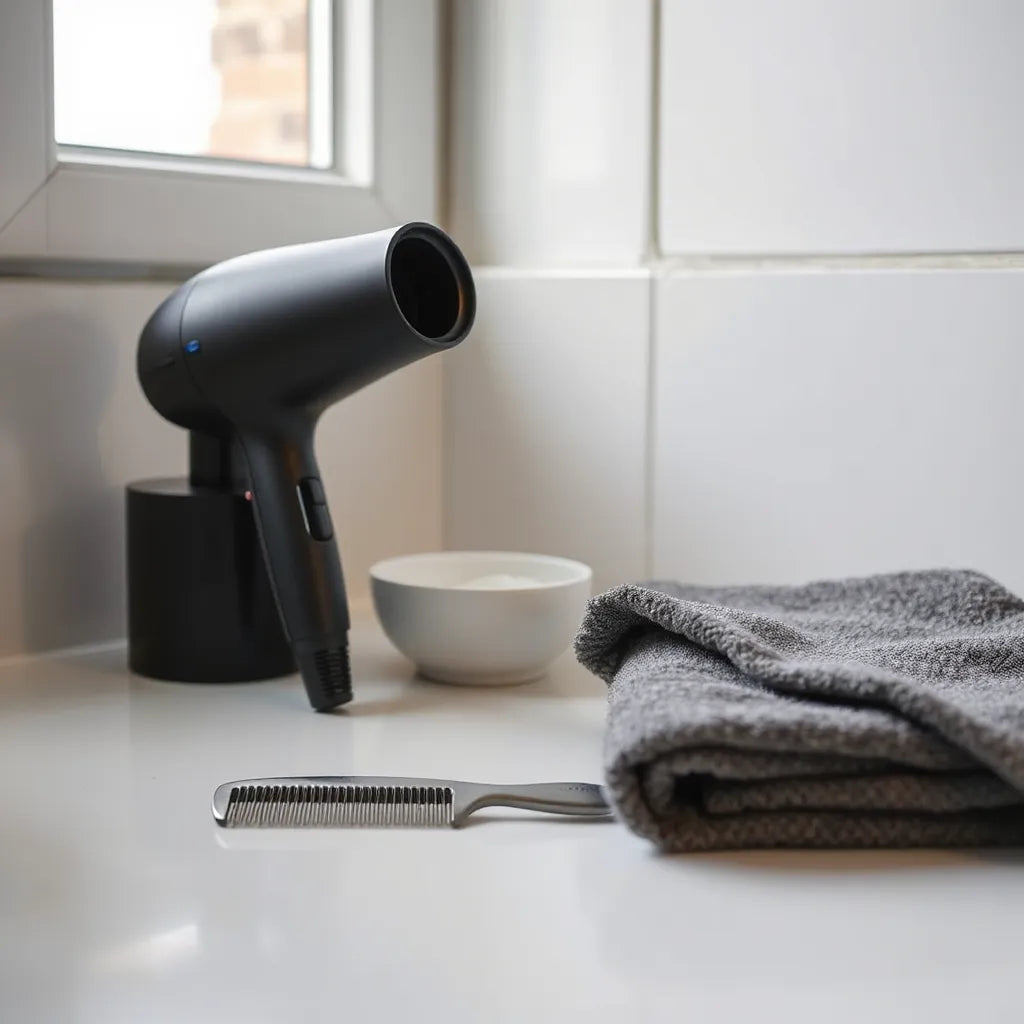
If your mornings start with “ugh, I still look like I slept in my hoodie,” a good Men's Hair Dryer can be a total game changer. The right technique helps you dry faster, add shape, and keep your hair looking intentional instead of accidental. In this guide, I’ll walk you through how to choose features that actually matter, how to prep your hair, and how to style with less frizz. You’ll also find quick answers to common questions so you can get confident with every wash day.
Table of Contents
How to Pick a Men’s Hair Dryer
Choosing a Men's Hair Dryer isn’t just about grabbing the first one that looks decent. You want something that matches your hair length, your daily routine, and your tolerance for heat. Think of it like picking shoes: the “best” pair is the one that fits what you actually do.
Here are the features that make a real difference:
- Heat and speed settings: Fine hair usually needs gentler heat, while thicker hair can handle higher airflow. Multiple settings help you control the result.
- Airflow power: Strong airflow can cut drying time, but you still want control so you don’t blast your hair into frizz.
- Heat control: Look for models that offer stable heat behavior across settings. It’s easier to style when the temperature is consistent.
- Attachments: A concentrator nozzle helps direct airflow for smoothness and shape. If you have curls or waves, a diffuser-style approach often helps you keep texture.
- Weight and grip: If you ever think “why is my arm tired after two minutes?” you’ll appreciate a comfortable handle and balanced feel.
If you’re comparing options, you might find it helpful to review what different dryers are designed to do. For example, Dyson’s hair dryer pages break down features and attachments by hair goals, which can make your decision easier. You can start here: hair dryer options.

Focus on airflow direction and controlled heat
Setup and Prep Like a Pro
Before you turn anything on, take 30 seconds to set yourself up. Good prep reduces frizz and helps your style “set” faster. Here’s a simple routine that works for most guys, whether you’ve got a clean fade, a textured crop, or longer waves.
1) Start with the right towel
Rubbing hard with a regular towel is one of the fastest ways to create flyaways. Instead, gently squeeze or blot to remove excess water. If you like a smoother finish, a microfiber towel or soft cotton tee can help.
2) Use a lightweight product
You don’t need a whole shelf of styling stuff. Pick one based on your hair’s needs:
- For softer volume: A light leave-in conditioner or smoothing cream can help.
- For control and texture: A small amount of styling cream, matte paste, or gel can guide the shape while you dry.
- For curls and waves: A curl cream or lightweight leave-in helps define without crunch.
3) Detangle before heat
Use a wide-tooth comb or fingers to gently work through knots while hair is damp. If you try to detangle after heating, it often turns into extra breakage and frizz.
Quick tip: sectioning is your secret weapon. If your hair is longer or thick, split it into 2–4 sections. You’ll dry evenly and style faster.
Step-by-Step Drying Method for Every Hair Type
Now let’s get into the method. I’ll keep it practical, like we’re standing in front of your bathroom mirror together. The goal is simple: dry your hair while guiding it into the shape you want.
Step 1: Choose your setting
Start with medium heat and medium speed. If your hair feels like it’s taking forever to dry, increase airflow rather than going straight to high heat. Your hair will thank you.
Step 2: Maintain distance
Hold the nozzle a few inches away. Too close can over-dry and make hair look rough. Too far means you’ll crank up heat and still won’t get a smooth finish.
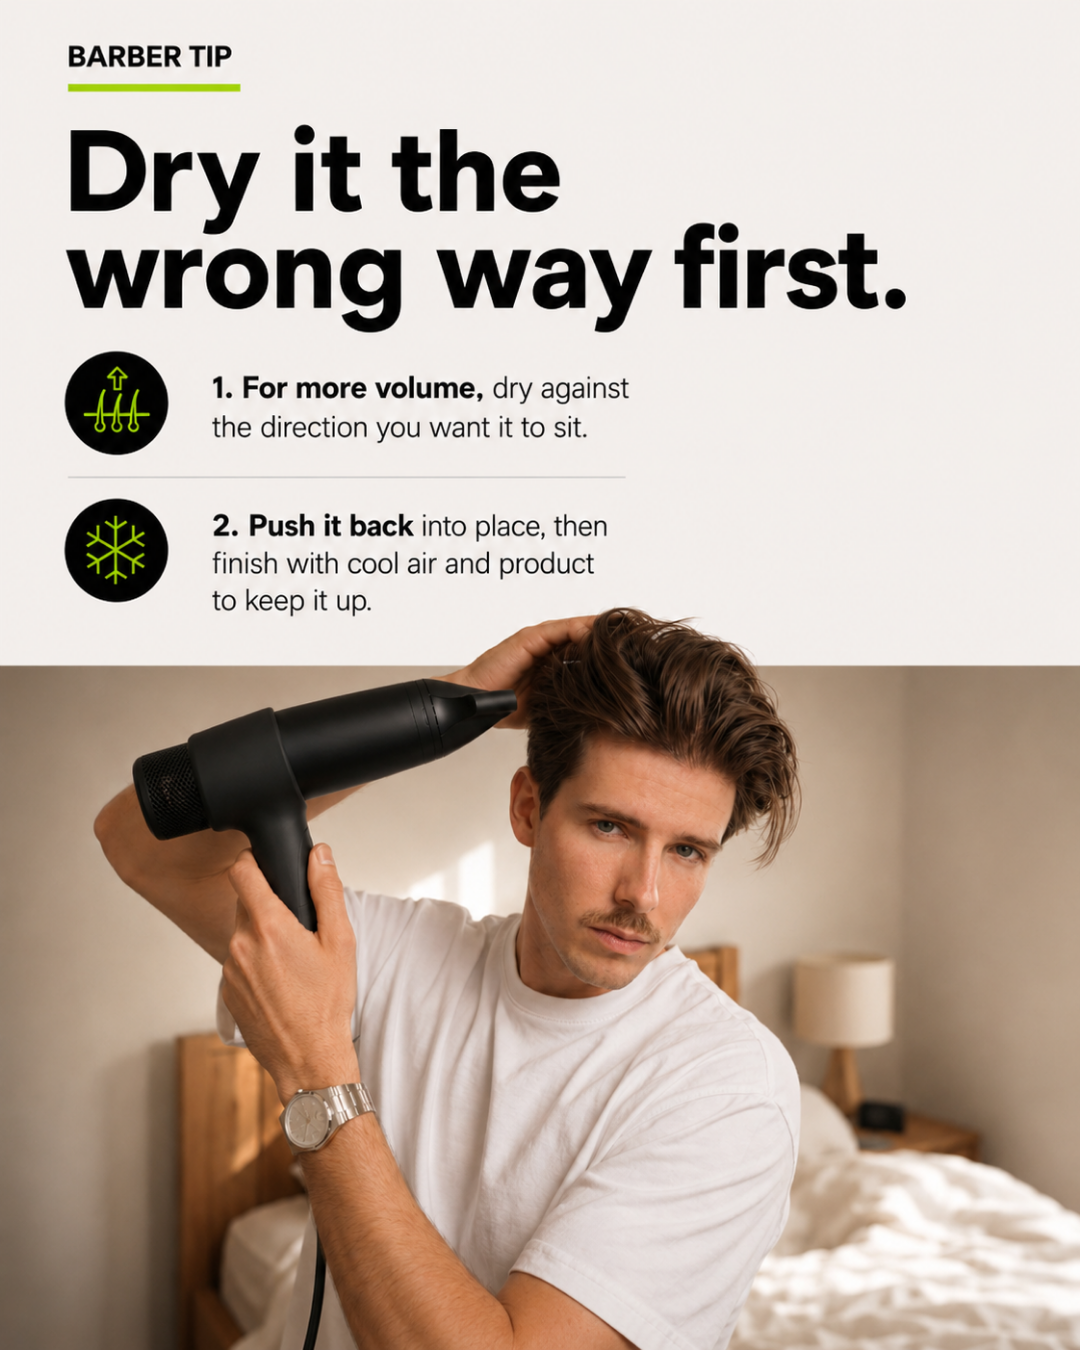
Step 3: Dry roots first
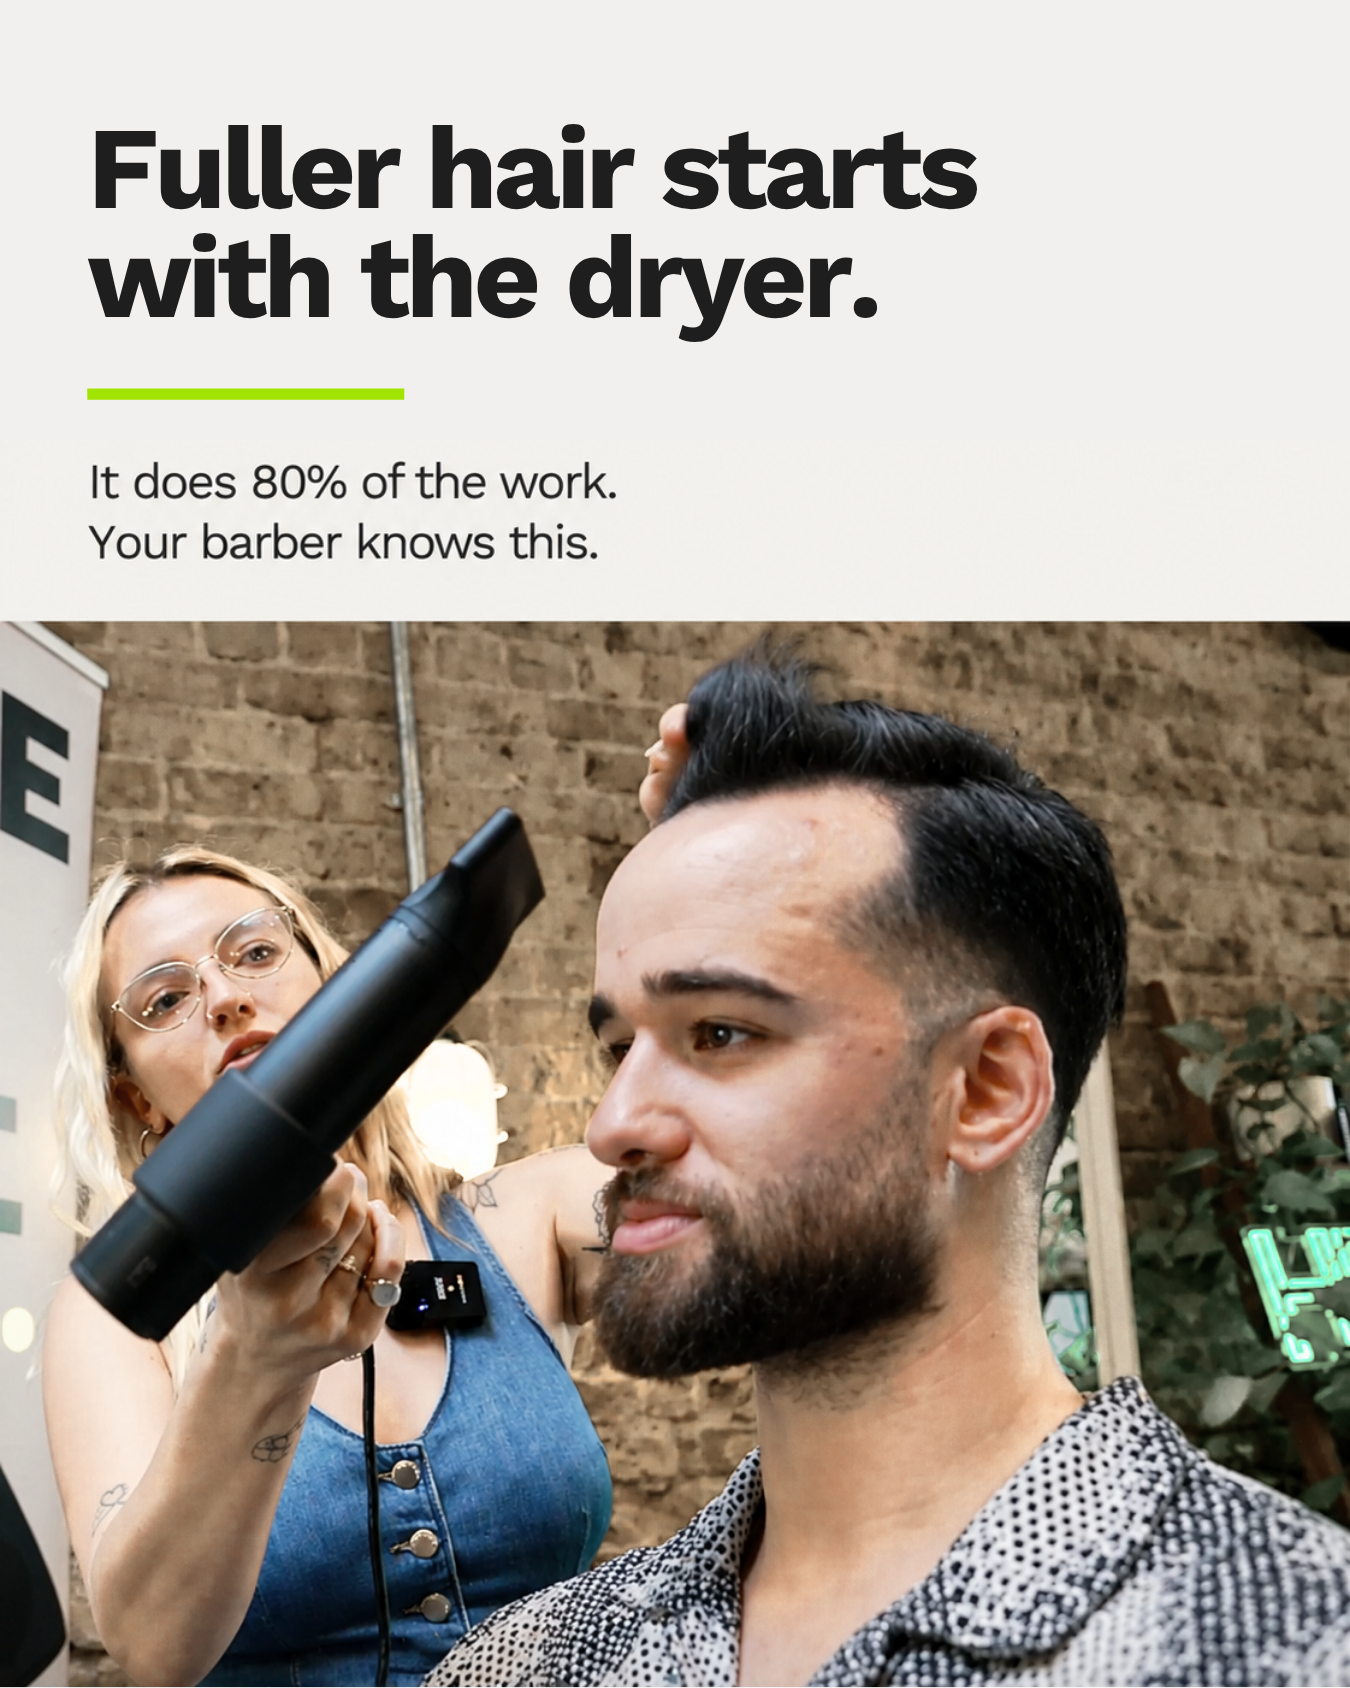
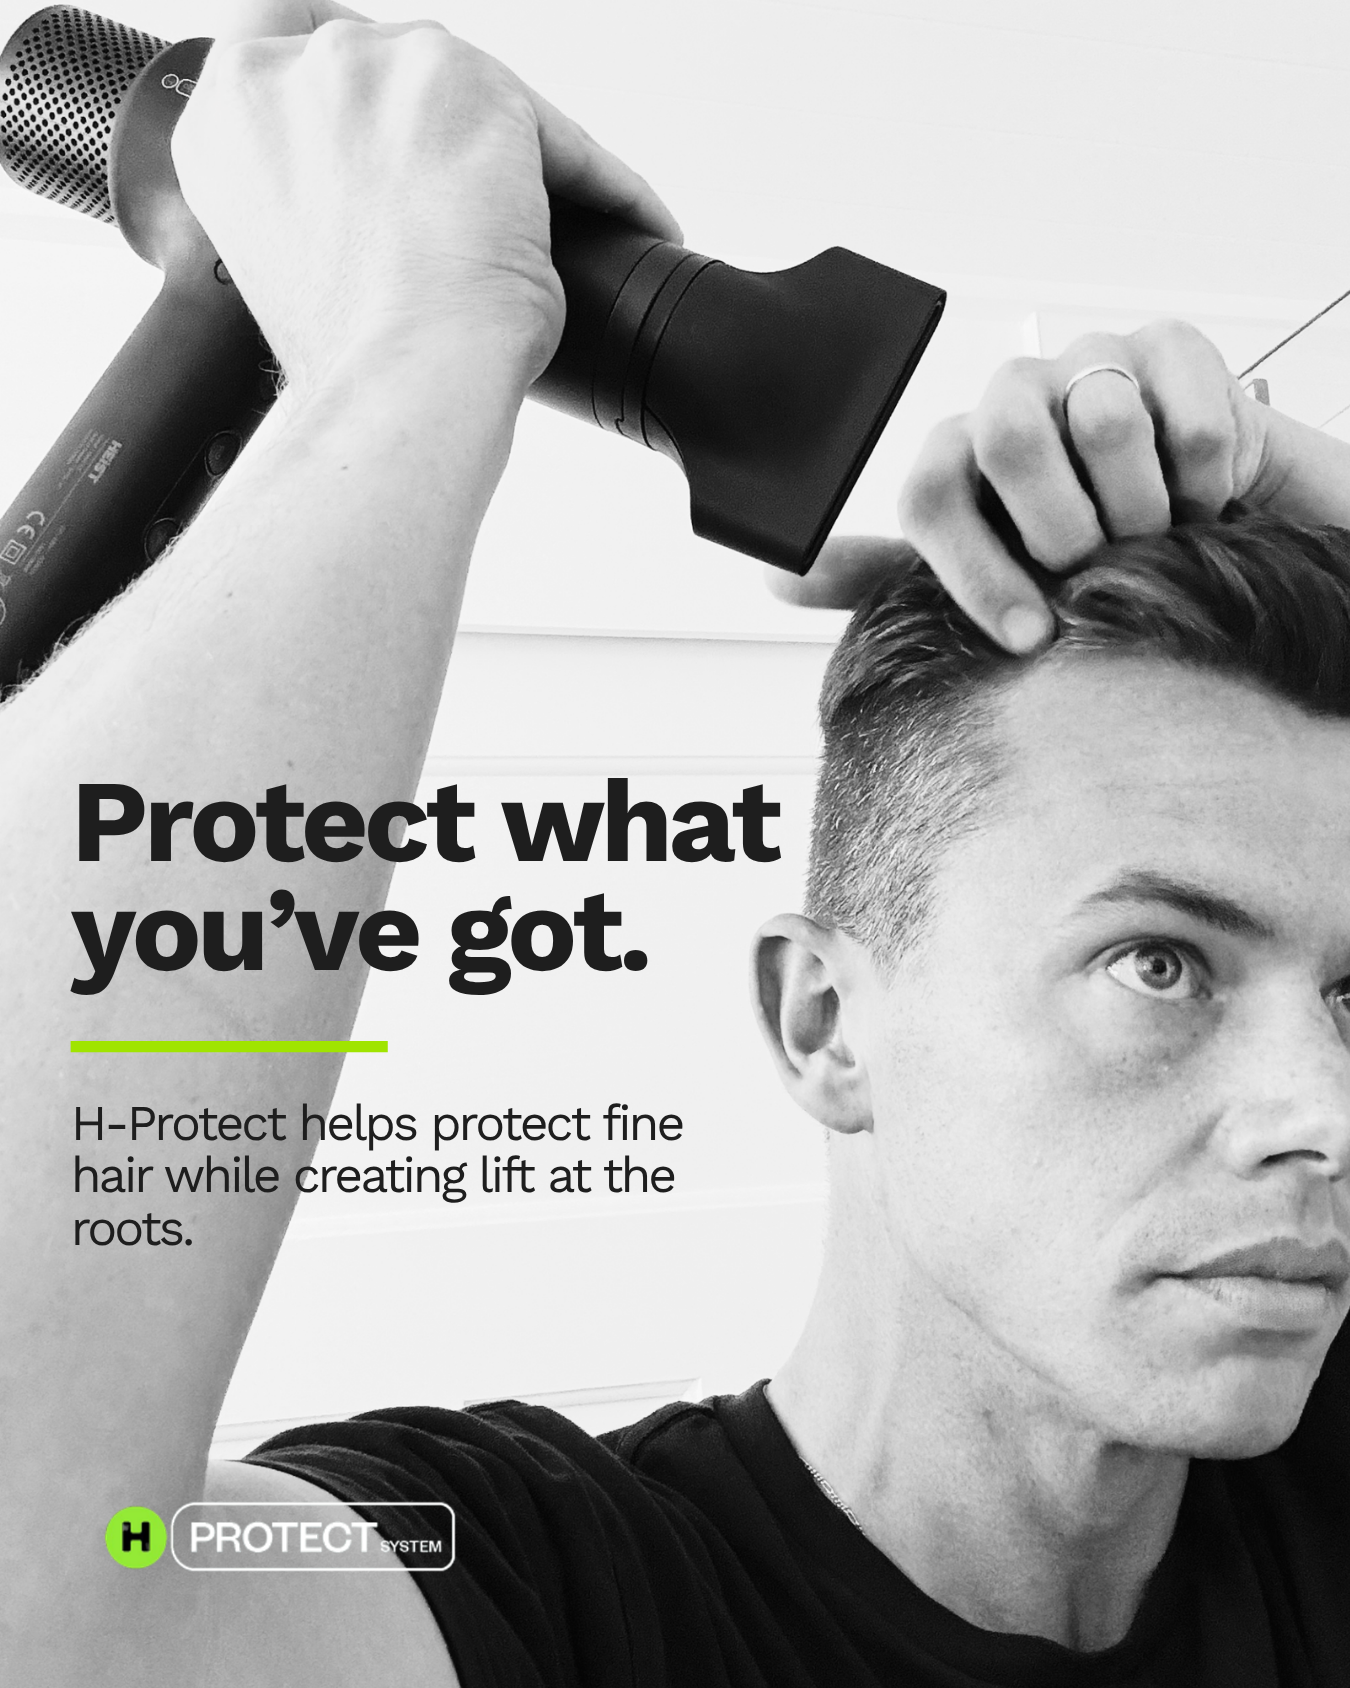
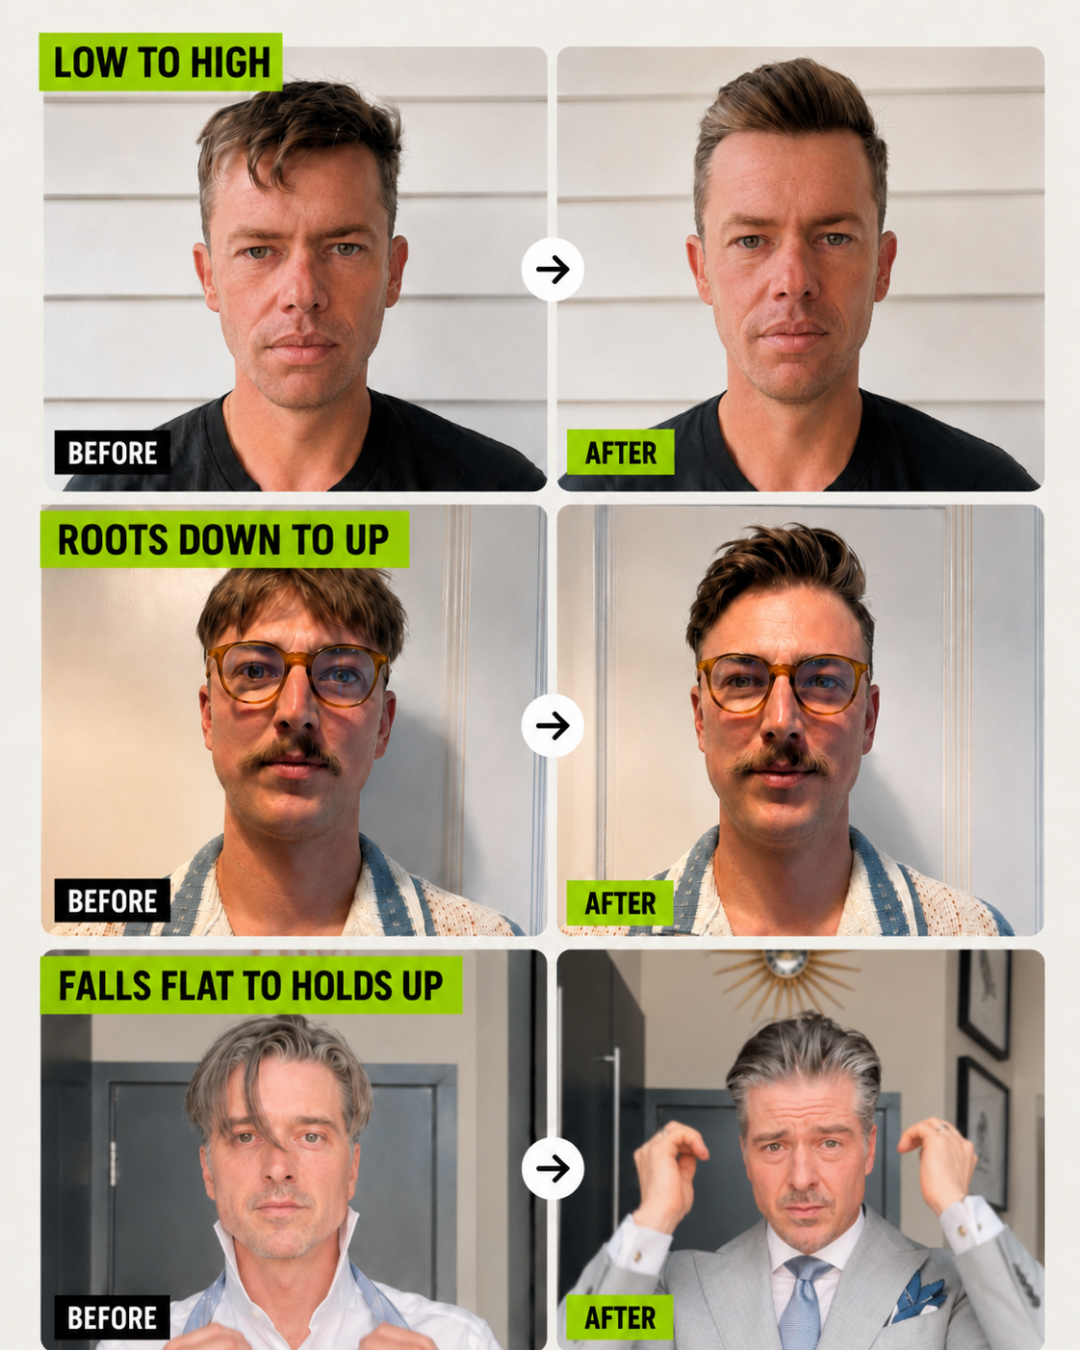
Most hairstyles start at the base. Focus on the roots for lift and structure. Lift your hair up with your fingers or a comb, then aim airflow at the underside.
Step 4: Work section by section
Use your comb or brush to direct airflow in the same direction you want hair to fall. If you’re going for a tidy side part, dry that section along the part line. If you want movement, dry with your natural wave direction.
Step 5: Use directional airflow for shape
Think of airflow like painting with light strokes. Don’t blast one spot for ages. Move constantly and keep the air moving through the hair.
Step 6: Finish with a cool shot
Cooling at the end helps lock the style in place. It also reduces that “still warm, now frizzy” feeling later.
Want a shortcut for different hair types?
- Short straight hair: Dry from roots to ends, brush in one direction, then use a cool shot to set.
- Thicker hair: Dry roots first, then work down. Use medium heat and stronger airflow to avoid lingering.
- Wavy hair: Dry with the grain first, then add slight lift at the crown.
- Curls: Consider an attachment style that spreads airflow. Keep hands shaping the curl while drying.

Show hands shaping waves while air moves gently
Common Mistakes to Avoid
Even if you’ve owned a dryer for years, a few habits can quietly ruin your results. Let’s avoid the most common ones.
Using heat on soaking-wet hair forever
If your hair is dripping, drying takes longer and you end up using more heat than you needed. Blot first, then style.
Blasting one area too long
Staying in one spot can create uneven dryness. Move the dryer constantly and keep sessions shorter.
Overloading product
A heavy layer of cream or gel can block airflow and leave hair stiff or greasy-looking. Start with a small amount, then add more only if needed.
Skipping the final cool step
Without cooling, your hair can lose shape faster. The cool shot helps it hold, especially for styled parts or slicker finishes.
Drying in random directions
If you dry in every direction, you’ll often end up with fluff instead of shape. Guide it while it’s damp.
How to Finish and Style With Confidence
Drying is step one; styling is step two. The easiest way to get a “did something with my hair” look is to match your finish to your daily routine.
Choose a finish based on the vibe
- Natural and airy: Use a light leave-in or texture spray, then lightly scrunch or comb.
- Polished: Add a small amount of cream or paste, then comb through for a smoother fall.
- Matte texture: Dry, cool, then press in a matte product for piece control.
Brush vs. fingers
Brushes help with smoothness and straight sections. Fingers help with volume and natural movement. If you’re unsure, try fingers for the first minute of styling, then grab a brush only where you want more control.
Pair attachments with goals
Attachments aren’t just fancy extras. They change how airflow shapes your hair. Concentrator-style airflow helps with straighter, smoother results, while wider airflow approaches often help preserve natural texture. If you want to compare attachment styles, Dyson has different hair dryer lineups with clear descriptions, like this page for airflow and styling: straight and wave styling.
Quick Visual Guide
If you learn best by doing, here’s a mental checklist you can follow while drying. It’s basically your “mirror script.”
- Keep airflow moving and aim airflow in the same direction you want hair to fall.
- Lift roots for volume, especially at the crown.
- Use sections if your hair is thick or long.
- Finish with cool air to help your style hold.
And if your results aren’t what you want after one try? Totally normal. Hair care is like cooking—timing and technique matter more than perfection.
Care and Maintenance for Your Tool
Your dryer works harder than you think, especially if you use it often. A little maintenance goes a long way for performance and hygiene.
- Clean the air intake: Dust and hair can build up over time. Check the filter area and remove buildup gently.
- Wipe the exterior: A dry cloth is usually enough. Avoid soaking anything.
- Store it safely: Keep it away from damp areas. Use a heat-resistant storage spot.
- Check attachments: Make sure nozzle parts sit correctly so airflow isn’t disrupted.
If you’re also thinking about accessories that make styling easier, Dyson lists tools and add-ons on this page: hair dryer accessories.
Make Your Next Wash Day Feel Effortless
If you’ve been using a hair dryer “on autopilot,” this is your sign to level it up. Start with better prep, dry roots first, guide airflow section by section, and finish with cool air. Once you do that a couple times, you’ll notice your style holds longer and looks more intentional.
Ready to refresh your routine? Grab a dryer that matches your hair goals, then practice the steps above. You’ll be surprised how quickly your mirror confidence comes back.
Disclaimer: This article is for general informational purposes only and does not provide medical advice. Results can vary based on hair texture, product choice, and routine. Always follow the manufacturer’s instructions for safe use.
FAQ
How often should a guy use a hair dryer?
It depends on your hair type and your routine. If your hair looks best with drying, you can use it after most washes. For very sensitive or fine hair, you may dry less often or use lower heat. The biggest win is consistent technique: towel blotting first, moderate heat, and not lingering too long in one spot.
What’s the best heat setting for short hair?
For short hair, starting with medium heat is usually the sweet spot. If you want a smoother finish, you can bump airflow first and keep heat moderate. If your hair feels dry or rough after styling, lower the heat and increase brushing or combing guidance instead.
Do attachments really make a difference?
Yes, especially if you care about shape. A concentrator-style nozzle helps direct airflow for smoother styles and cleaner lines. If you have waves or curls, an attachment that spreads airflow can help preserve natural texture while you dry. You don’t need every accessory—just the one that fits your hairstyle most days.

Sarah Courtney writes expert hair content for Heist’s blog and guides. She focuses on practical styling advice and product insights that help you nail everyday looks with salon-level results. Her work blends technical knowledge of hair tools with clear step-by-step tips you can apply at home. You can see her byline on posts like Choosing a Salon Quality Dryer for Everyday Home Styling.





Share:
Healthier Hair Starts With Gentle Drying Habits